Homemade Stocks & Broths

Stocks and broths made in the home kitchen are more flavorful than even the most expensive, store-bought brands. Since stock is made by simmering bones and broth is made by simmering vegetables or meat, making them at home can also be less wasteful.

FullSizeRender.jpg


Basic Stock & Broth Recipe

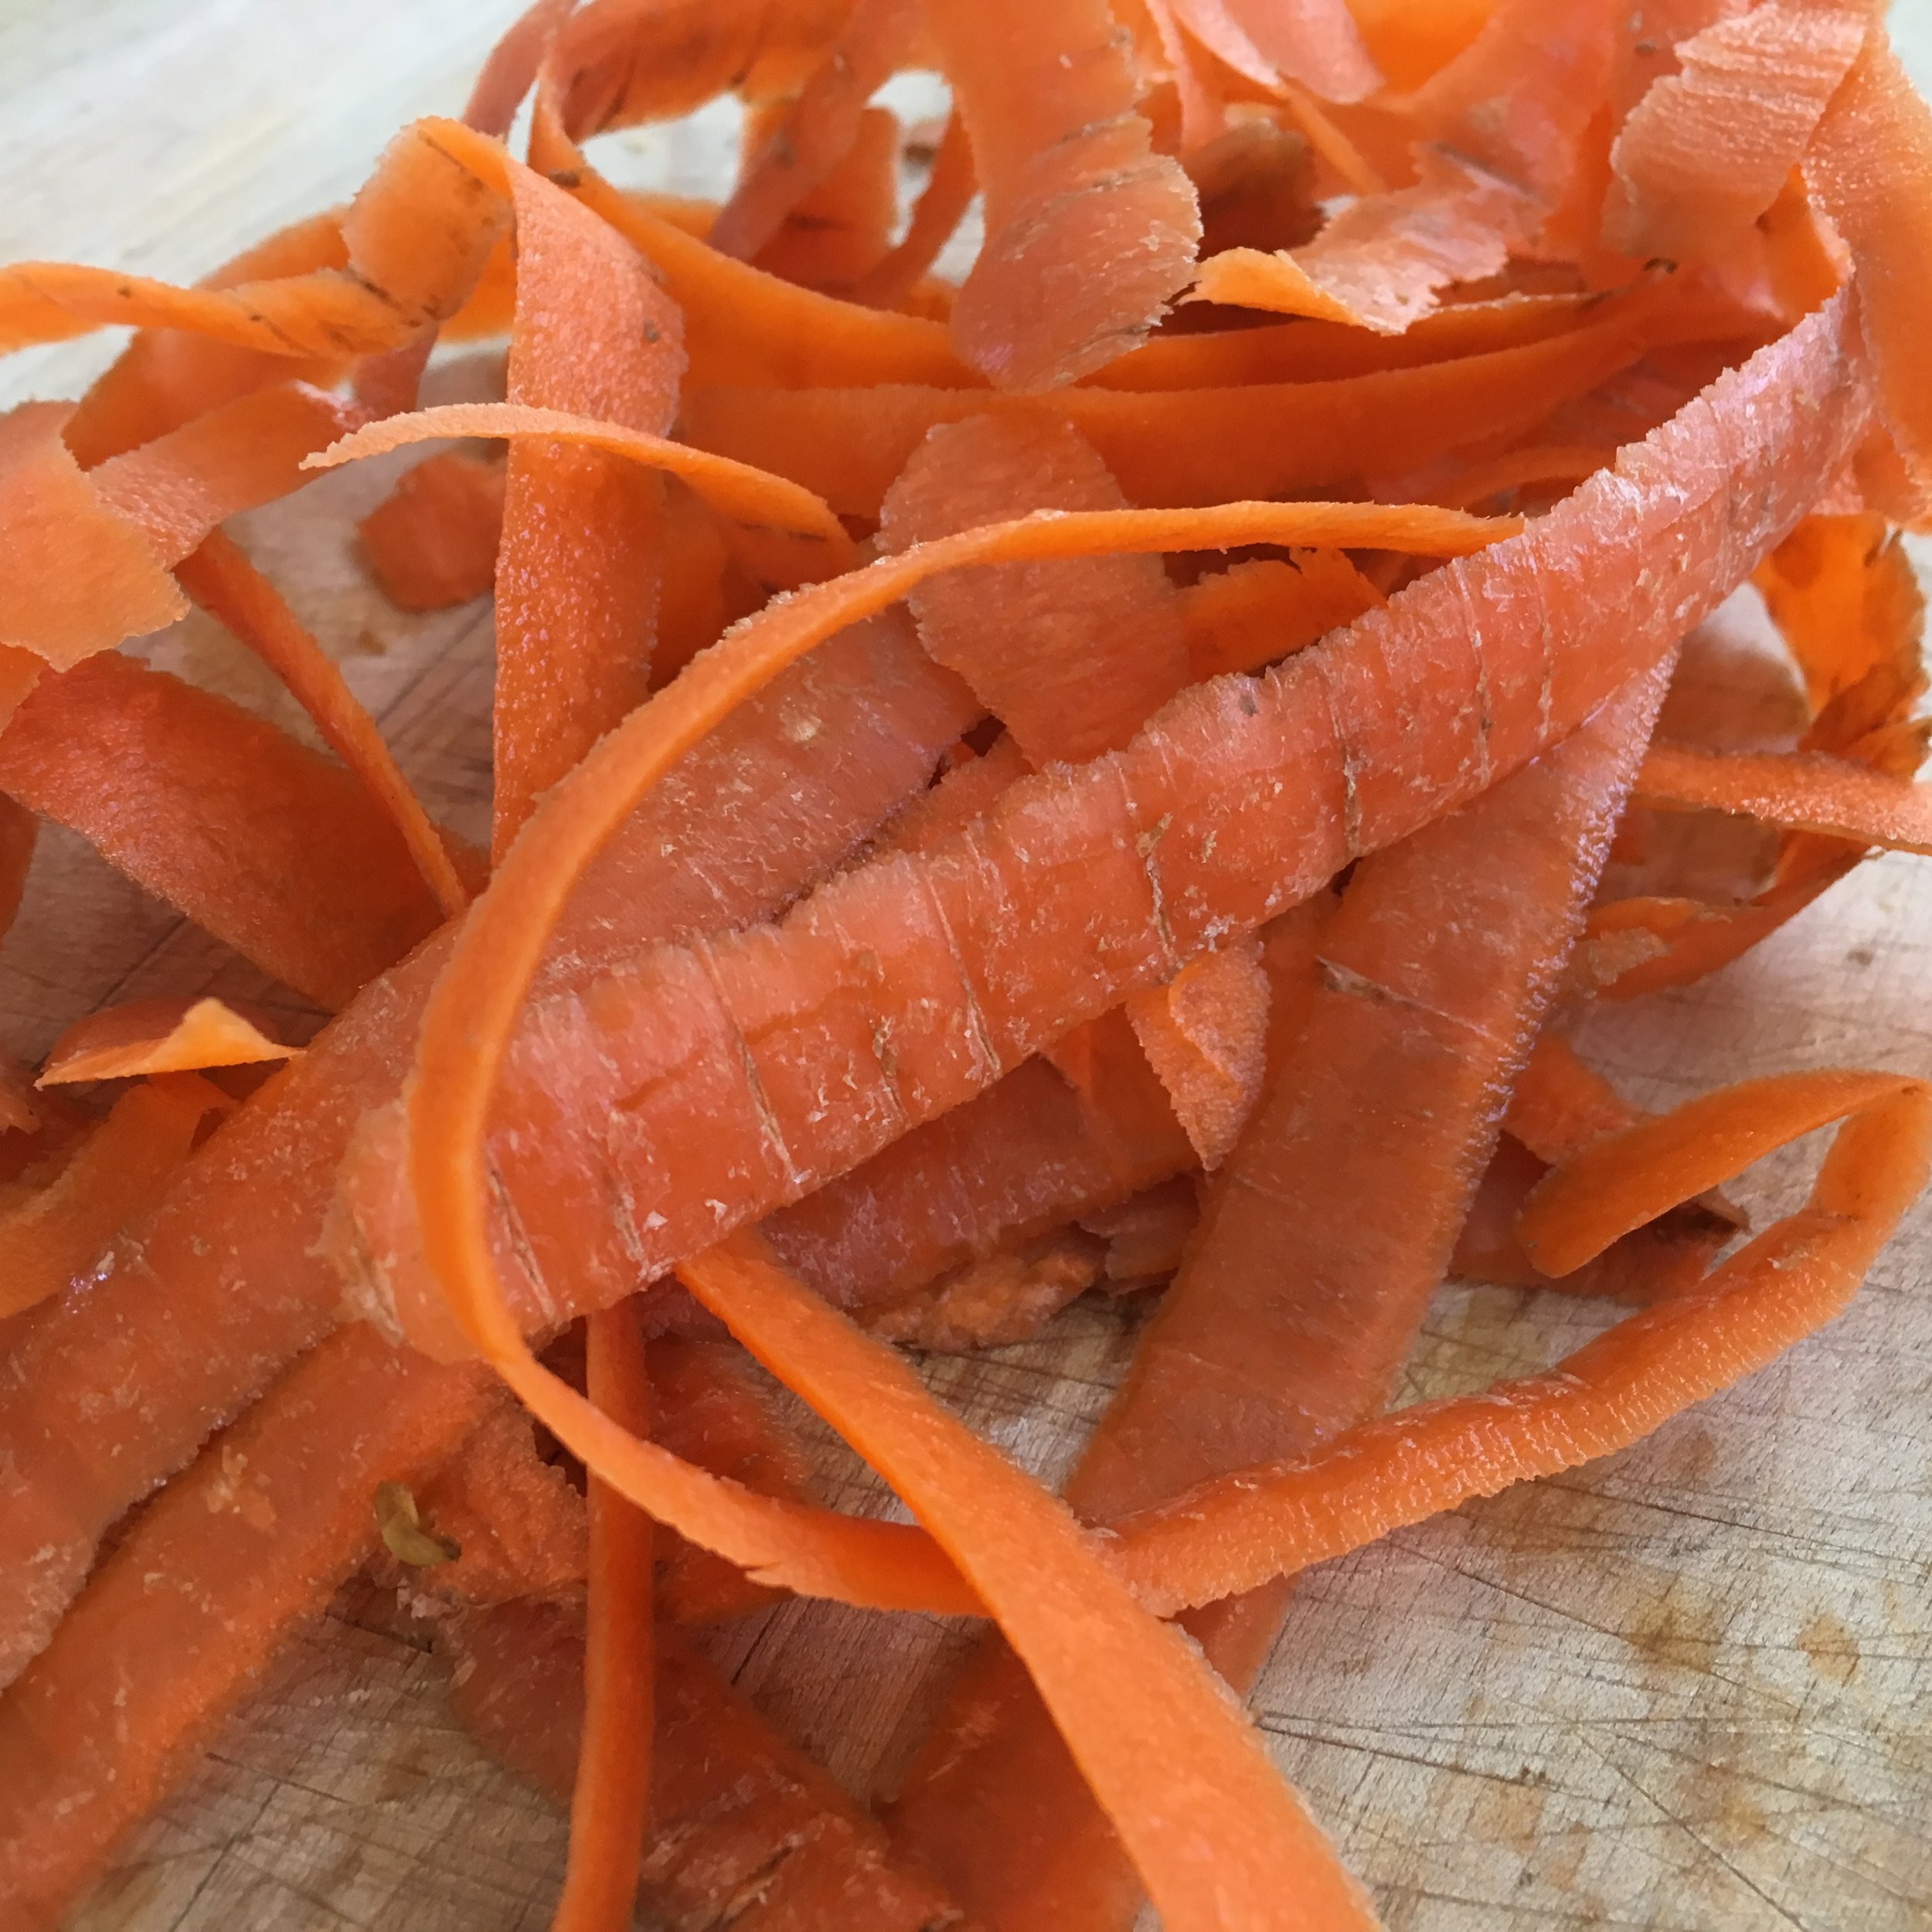
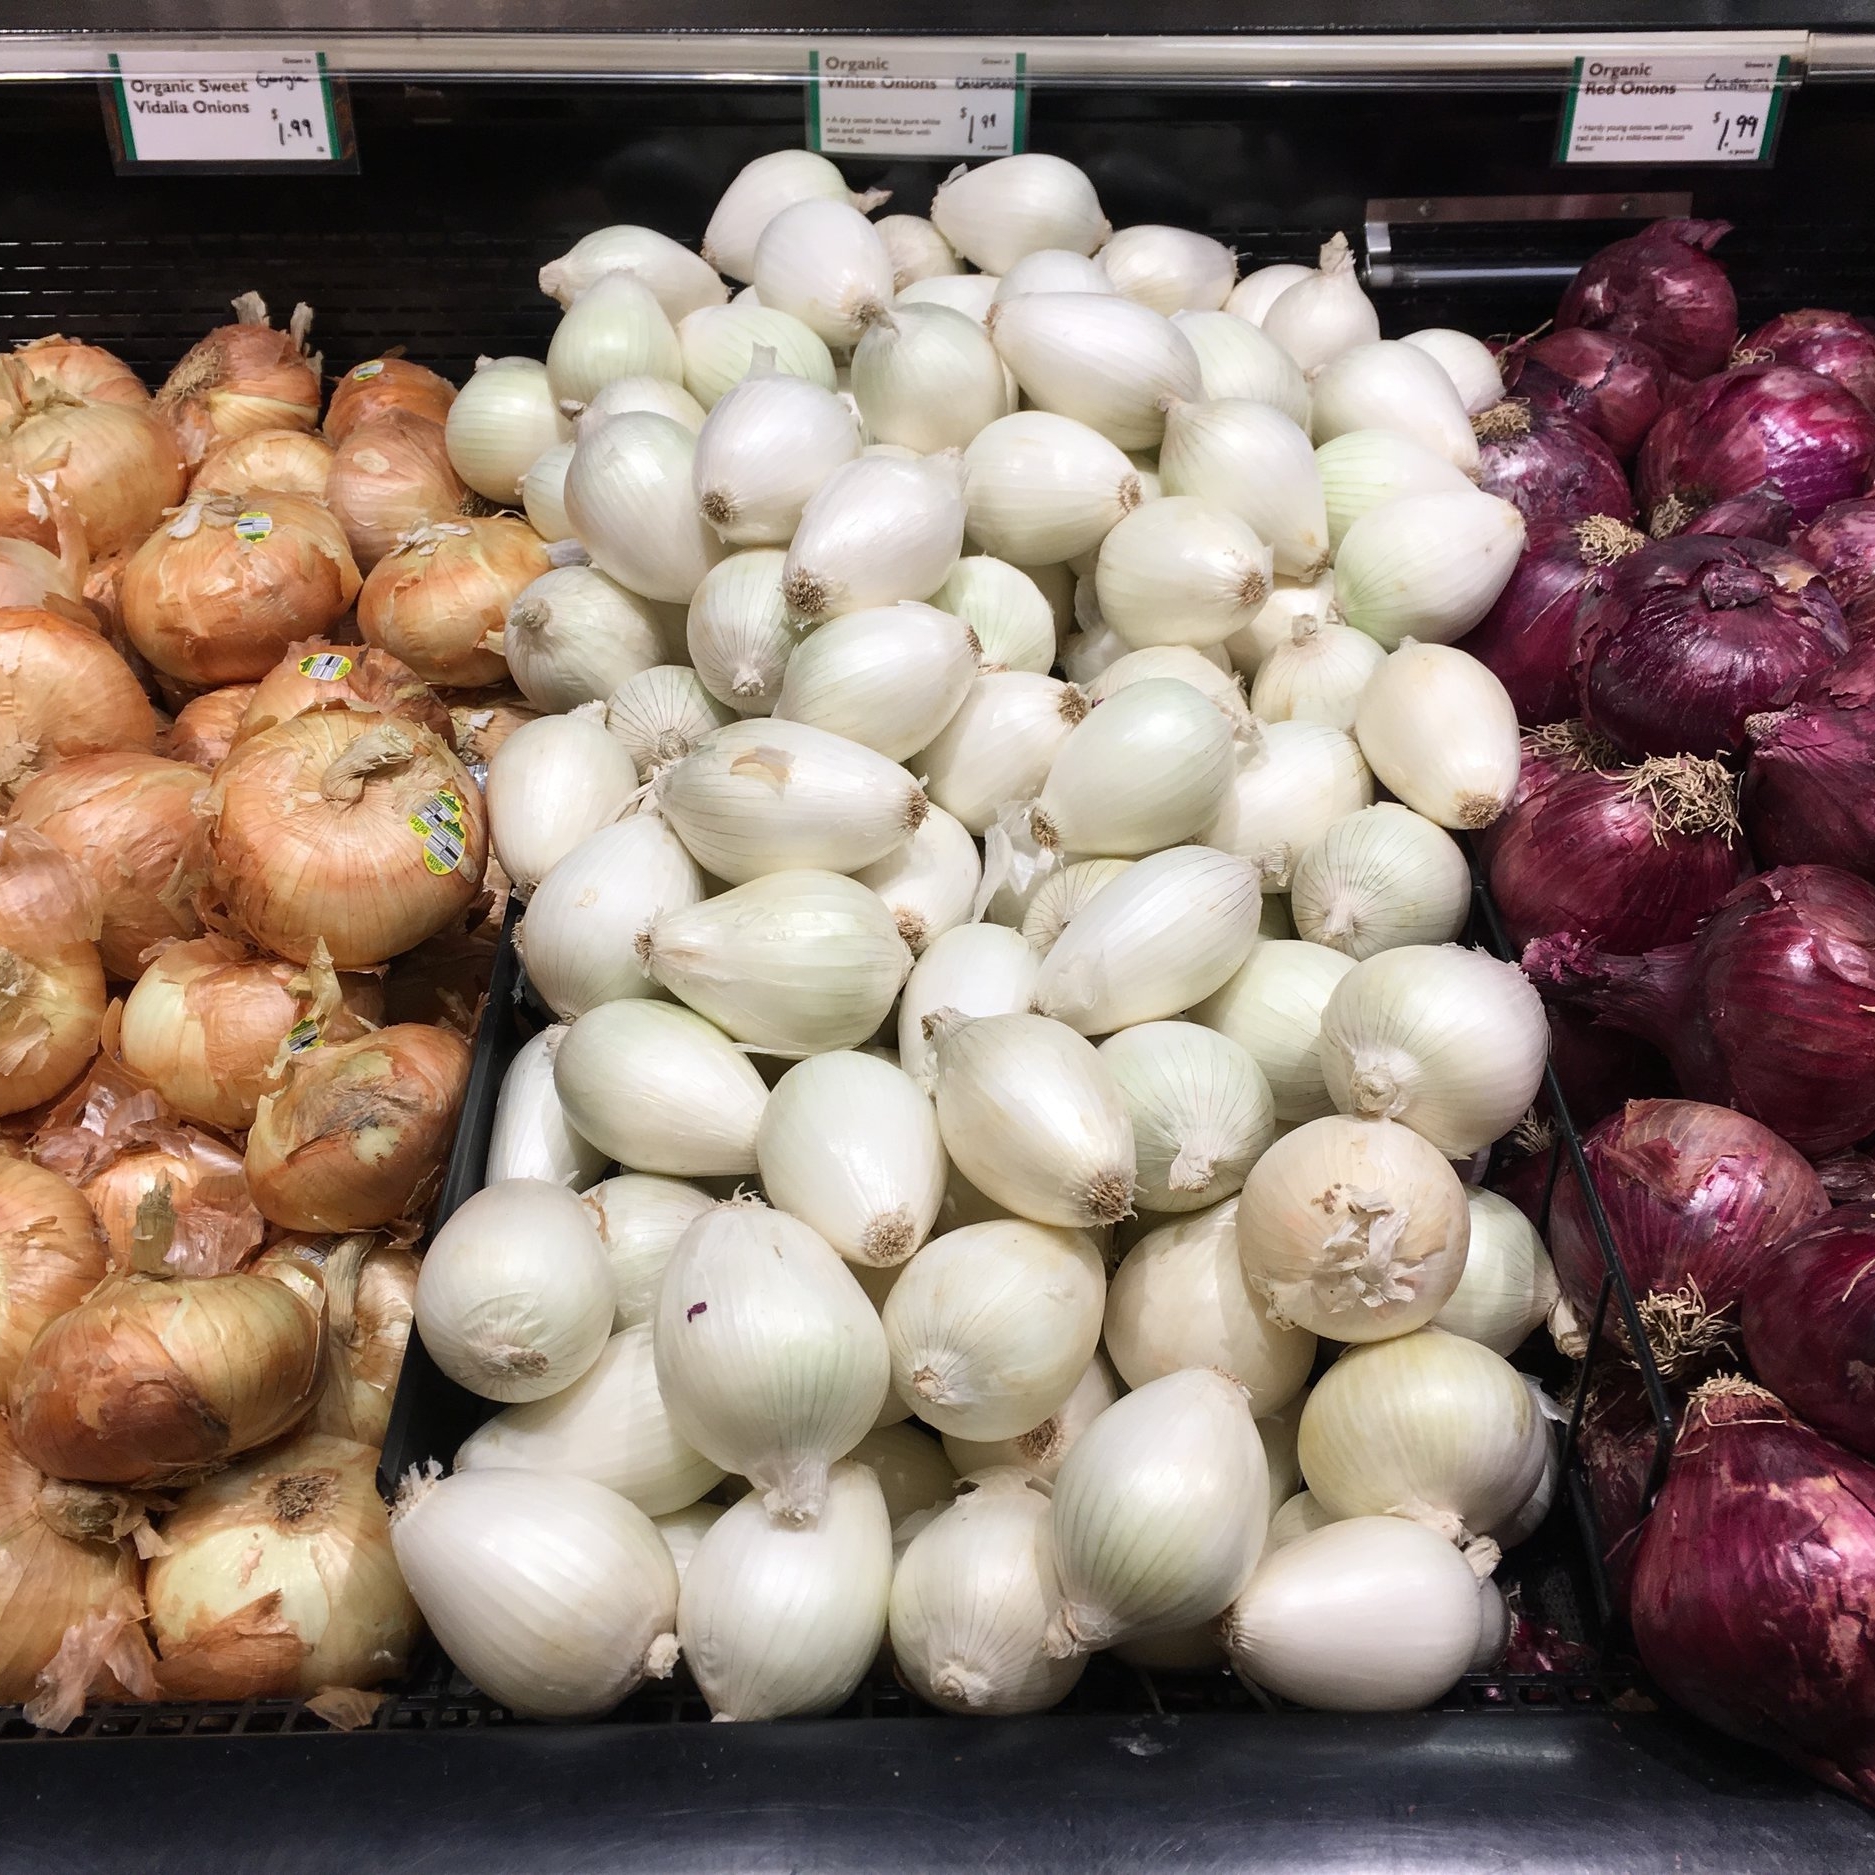
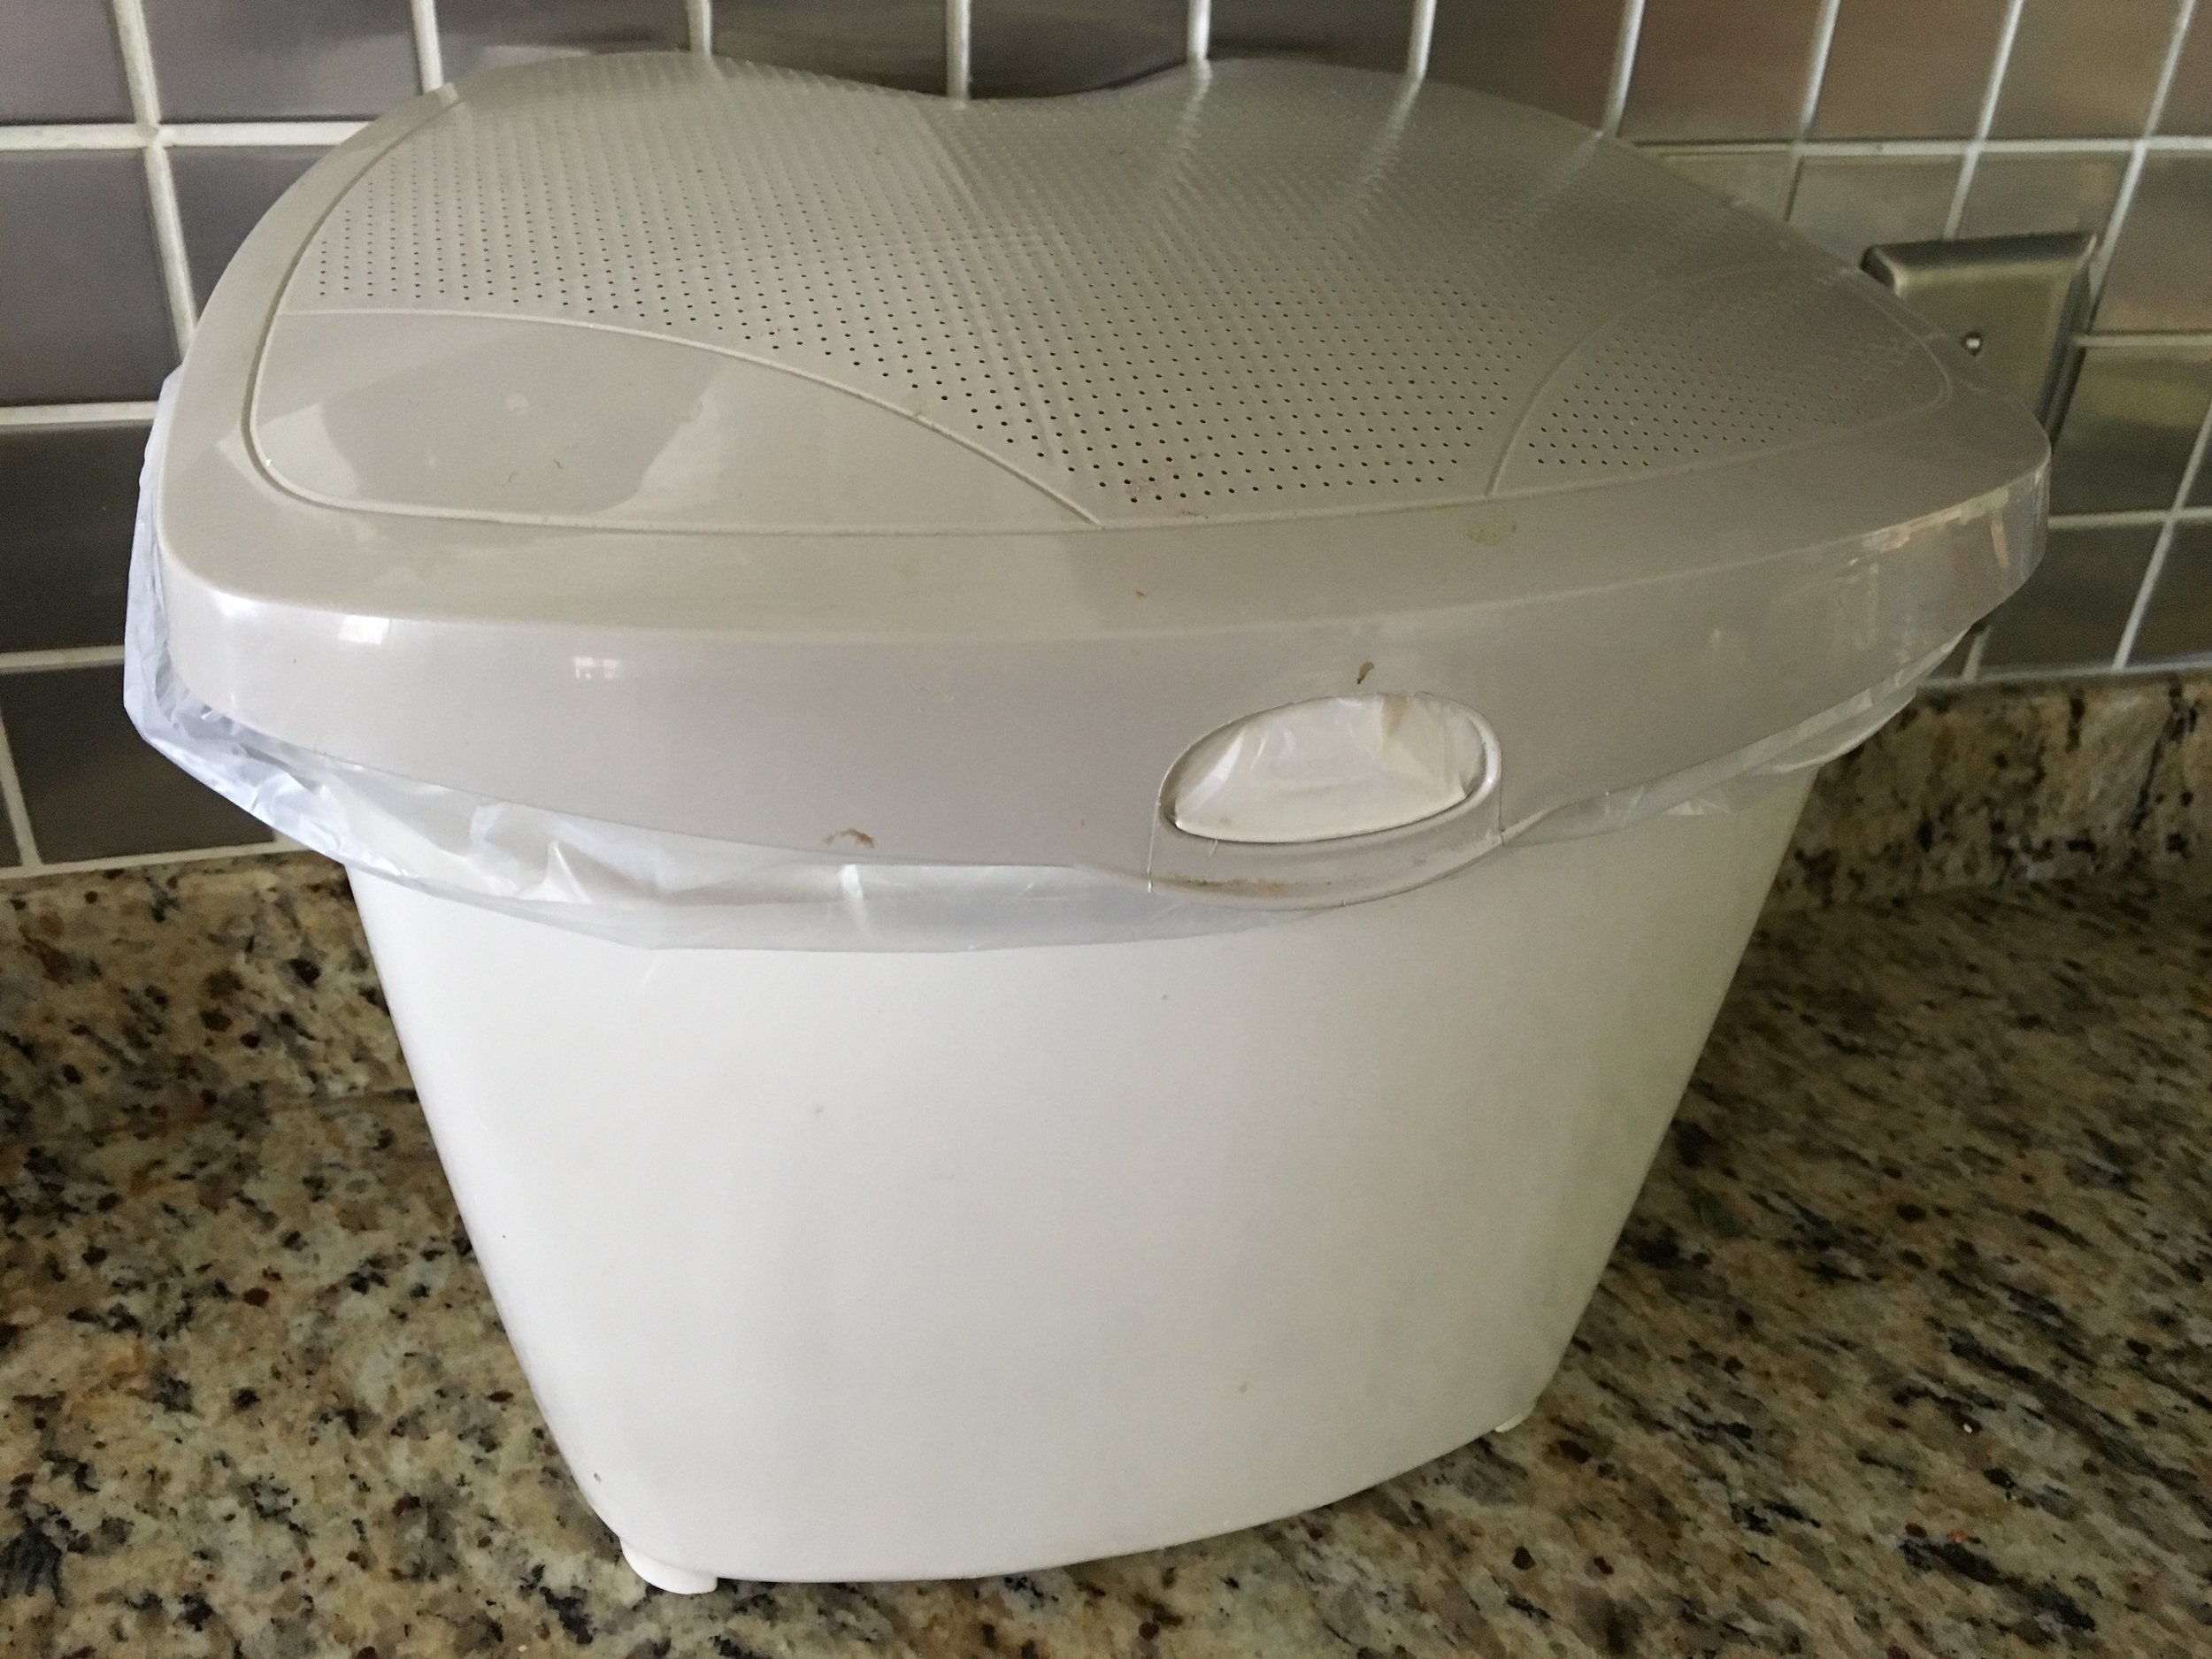
Collect equal portions of carrot, onion and celery tops and peels in the freezer. Add mushrooms stems for vegetable broth or add leftover bones and/or meat for chicken, turkey or beef stock.


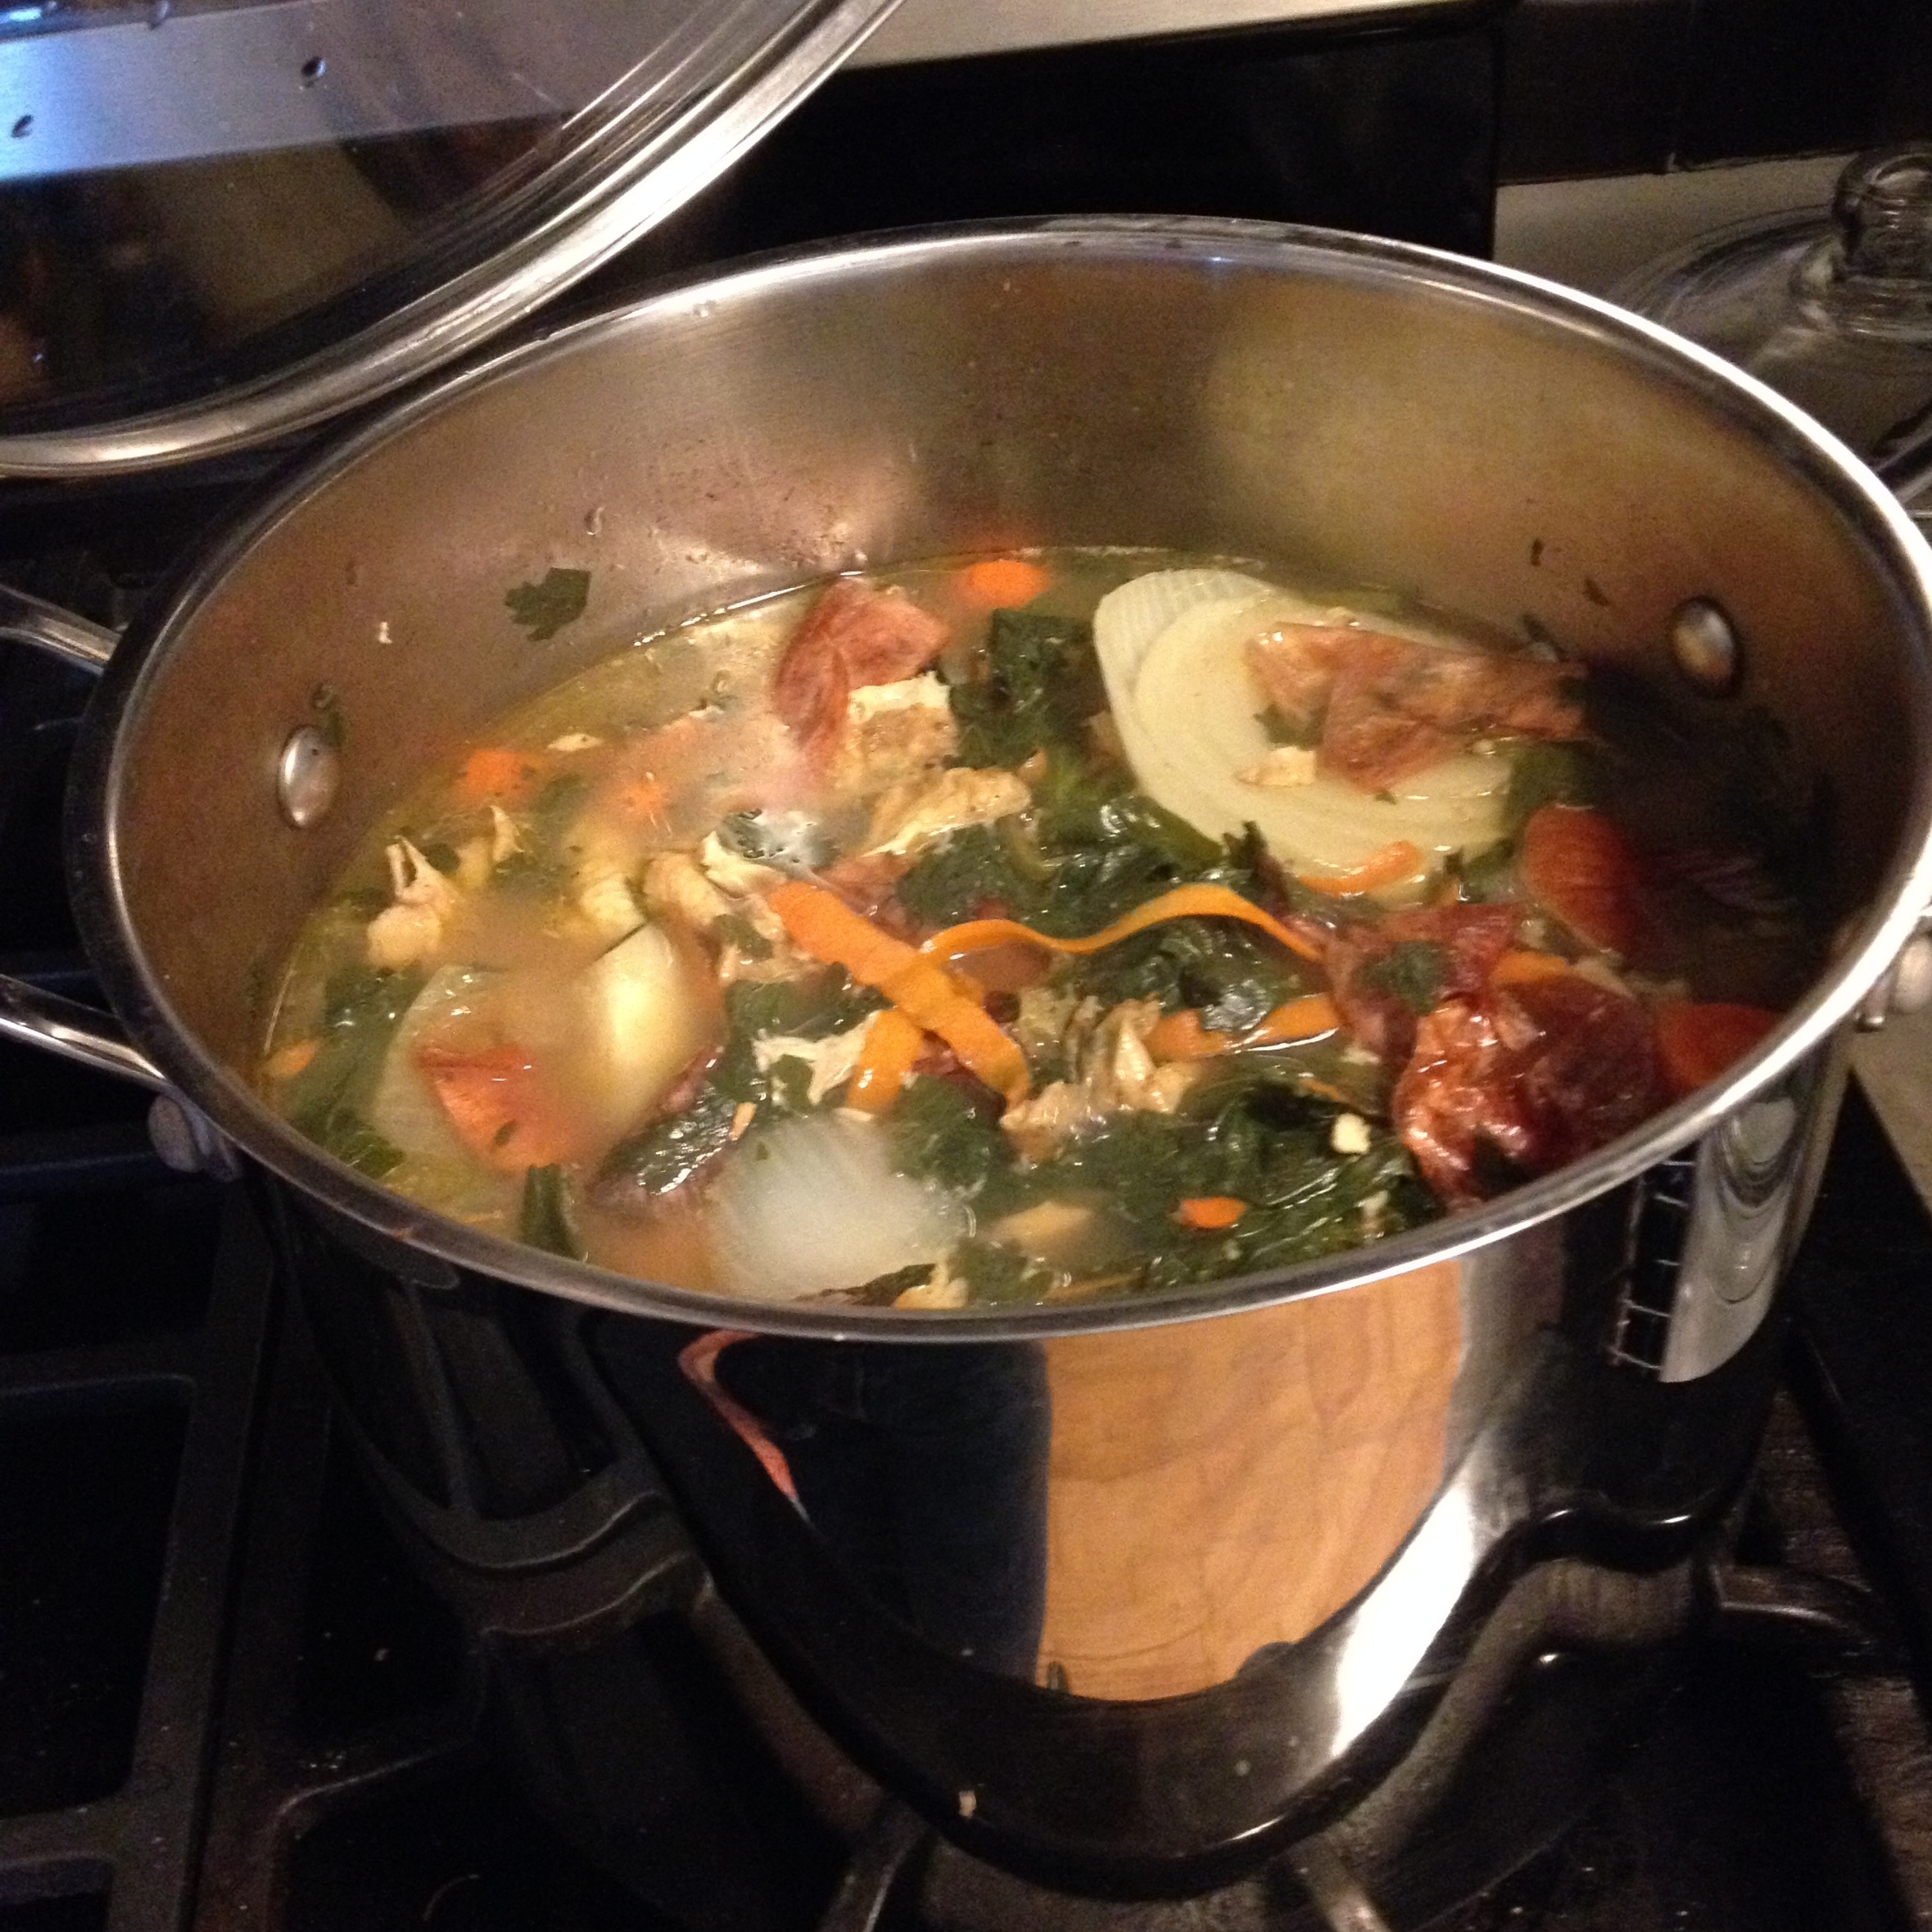
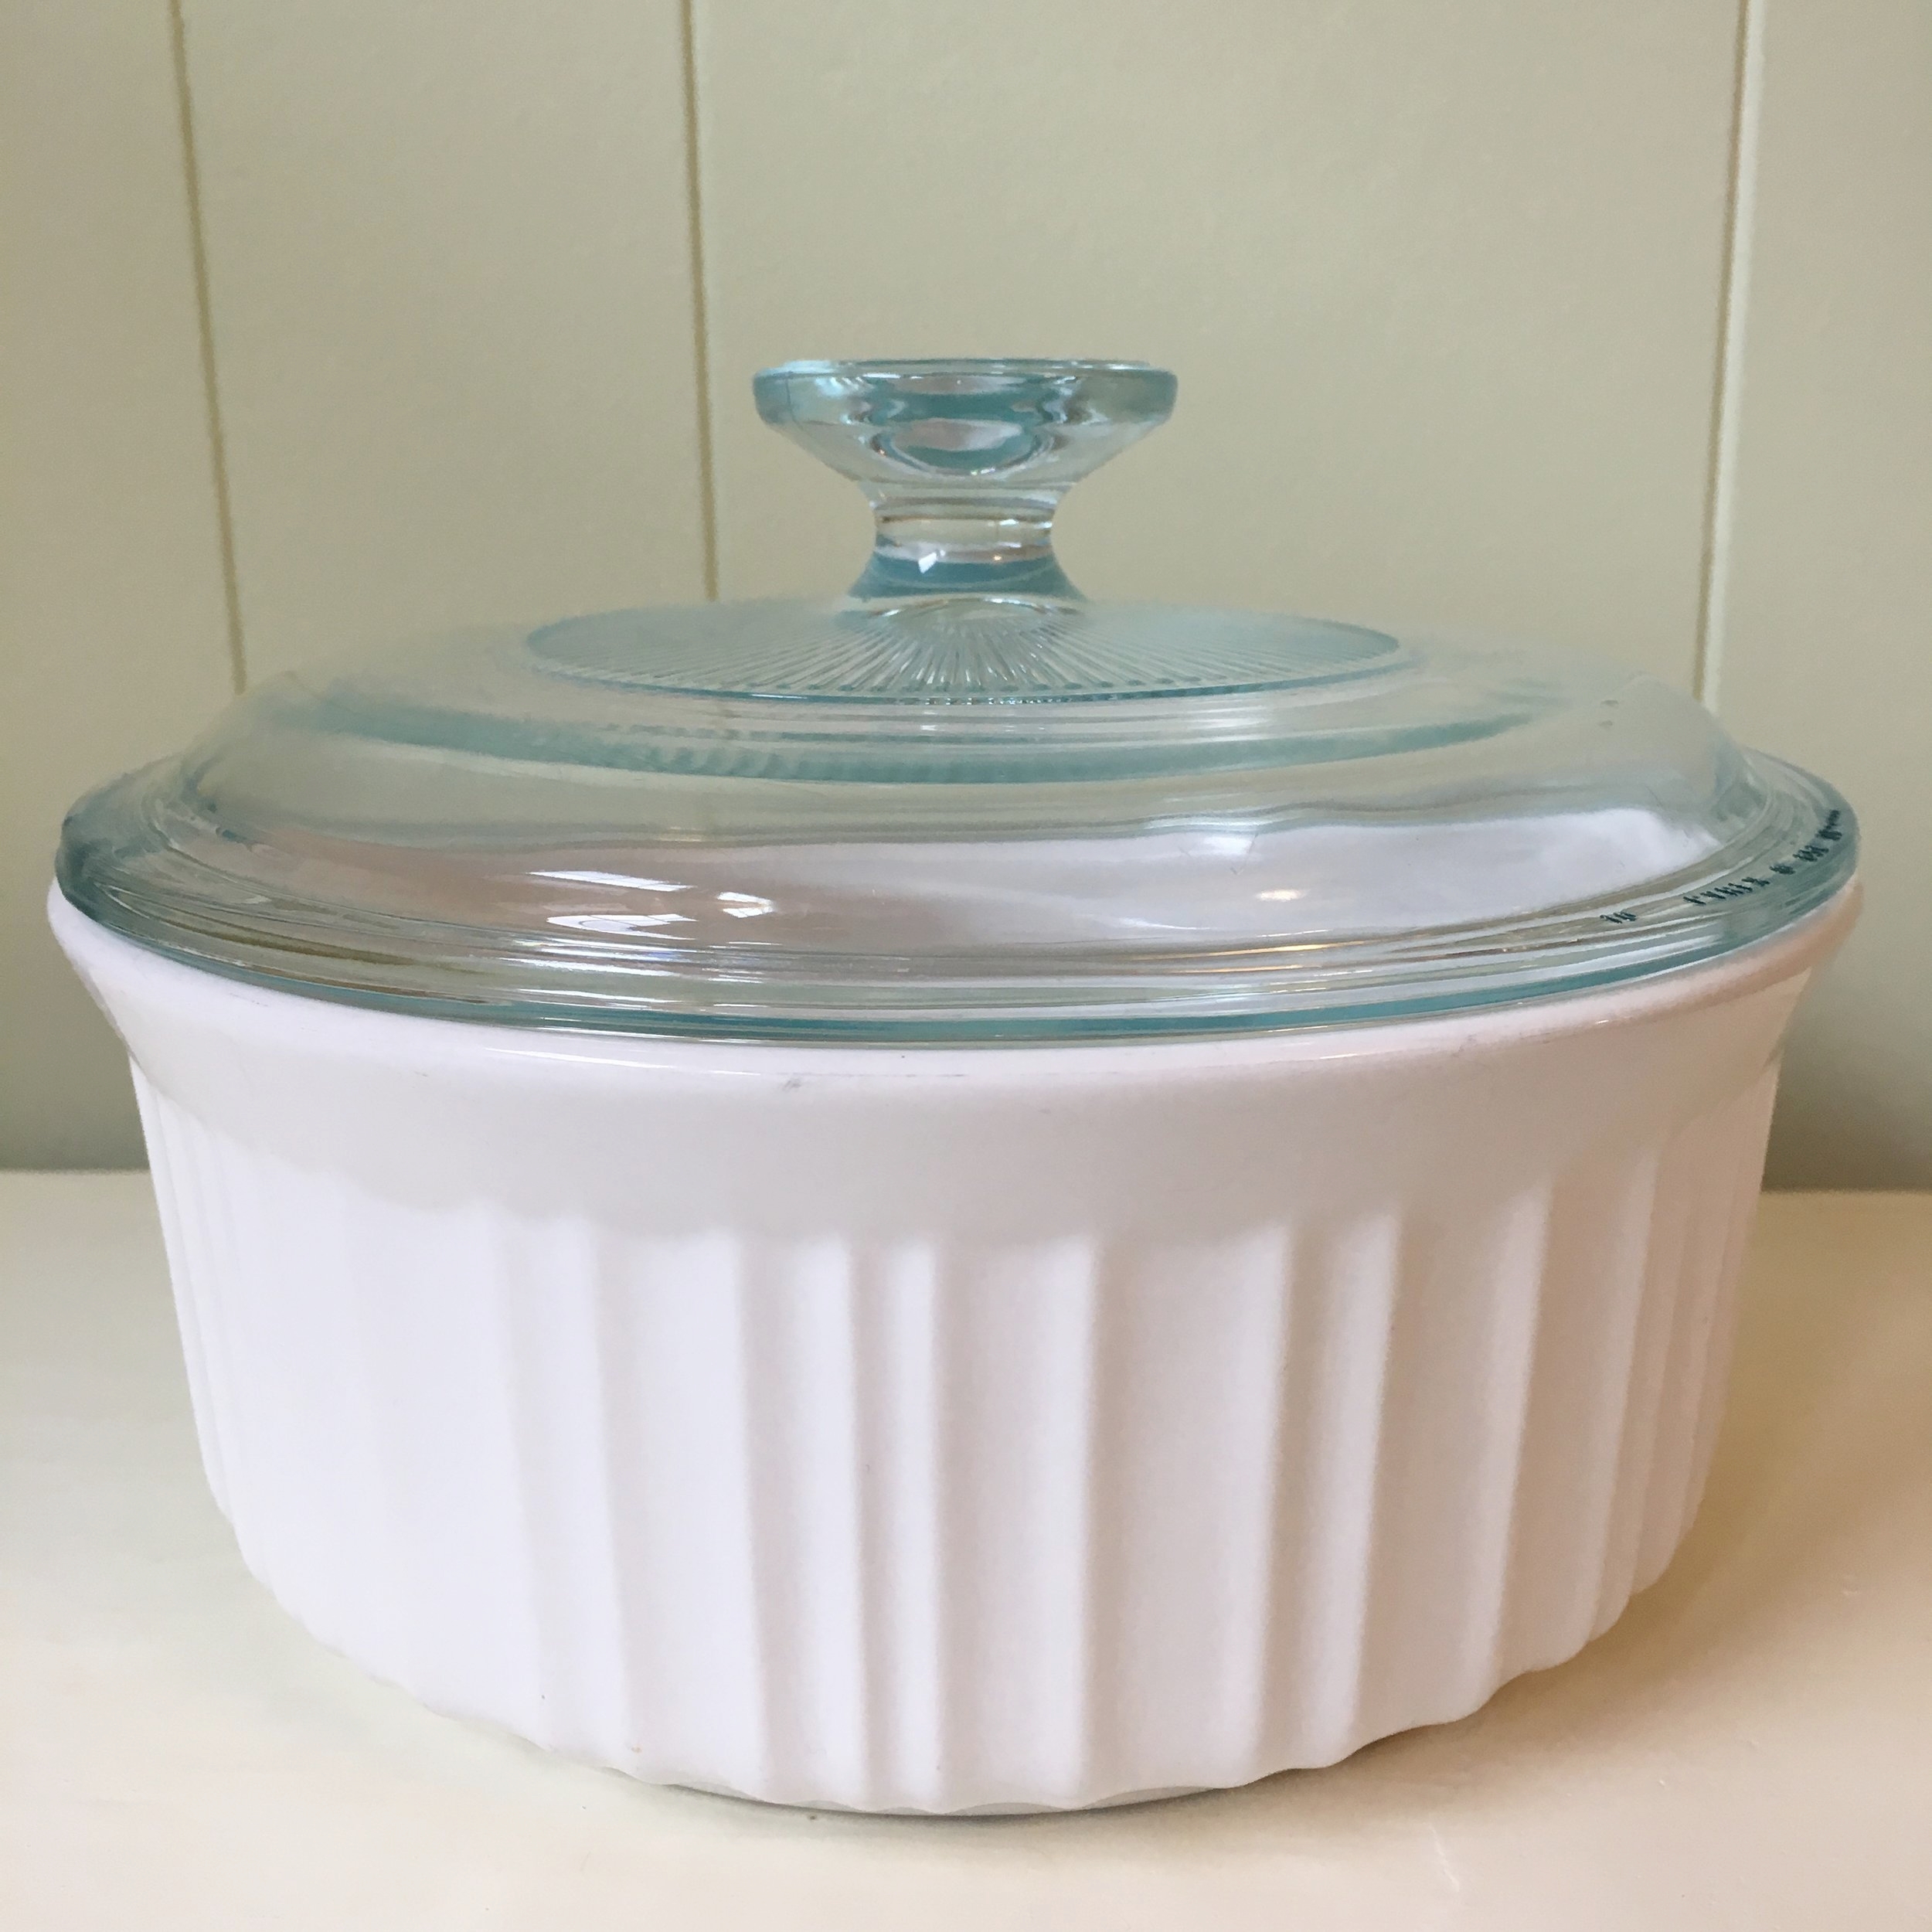
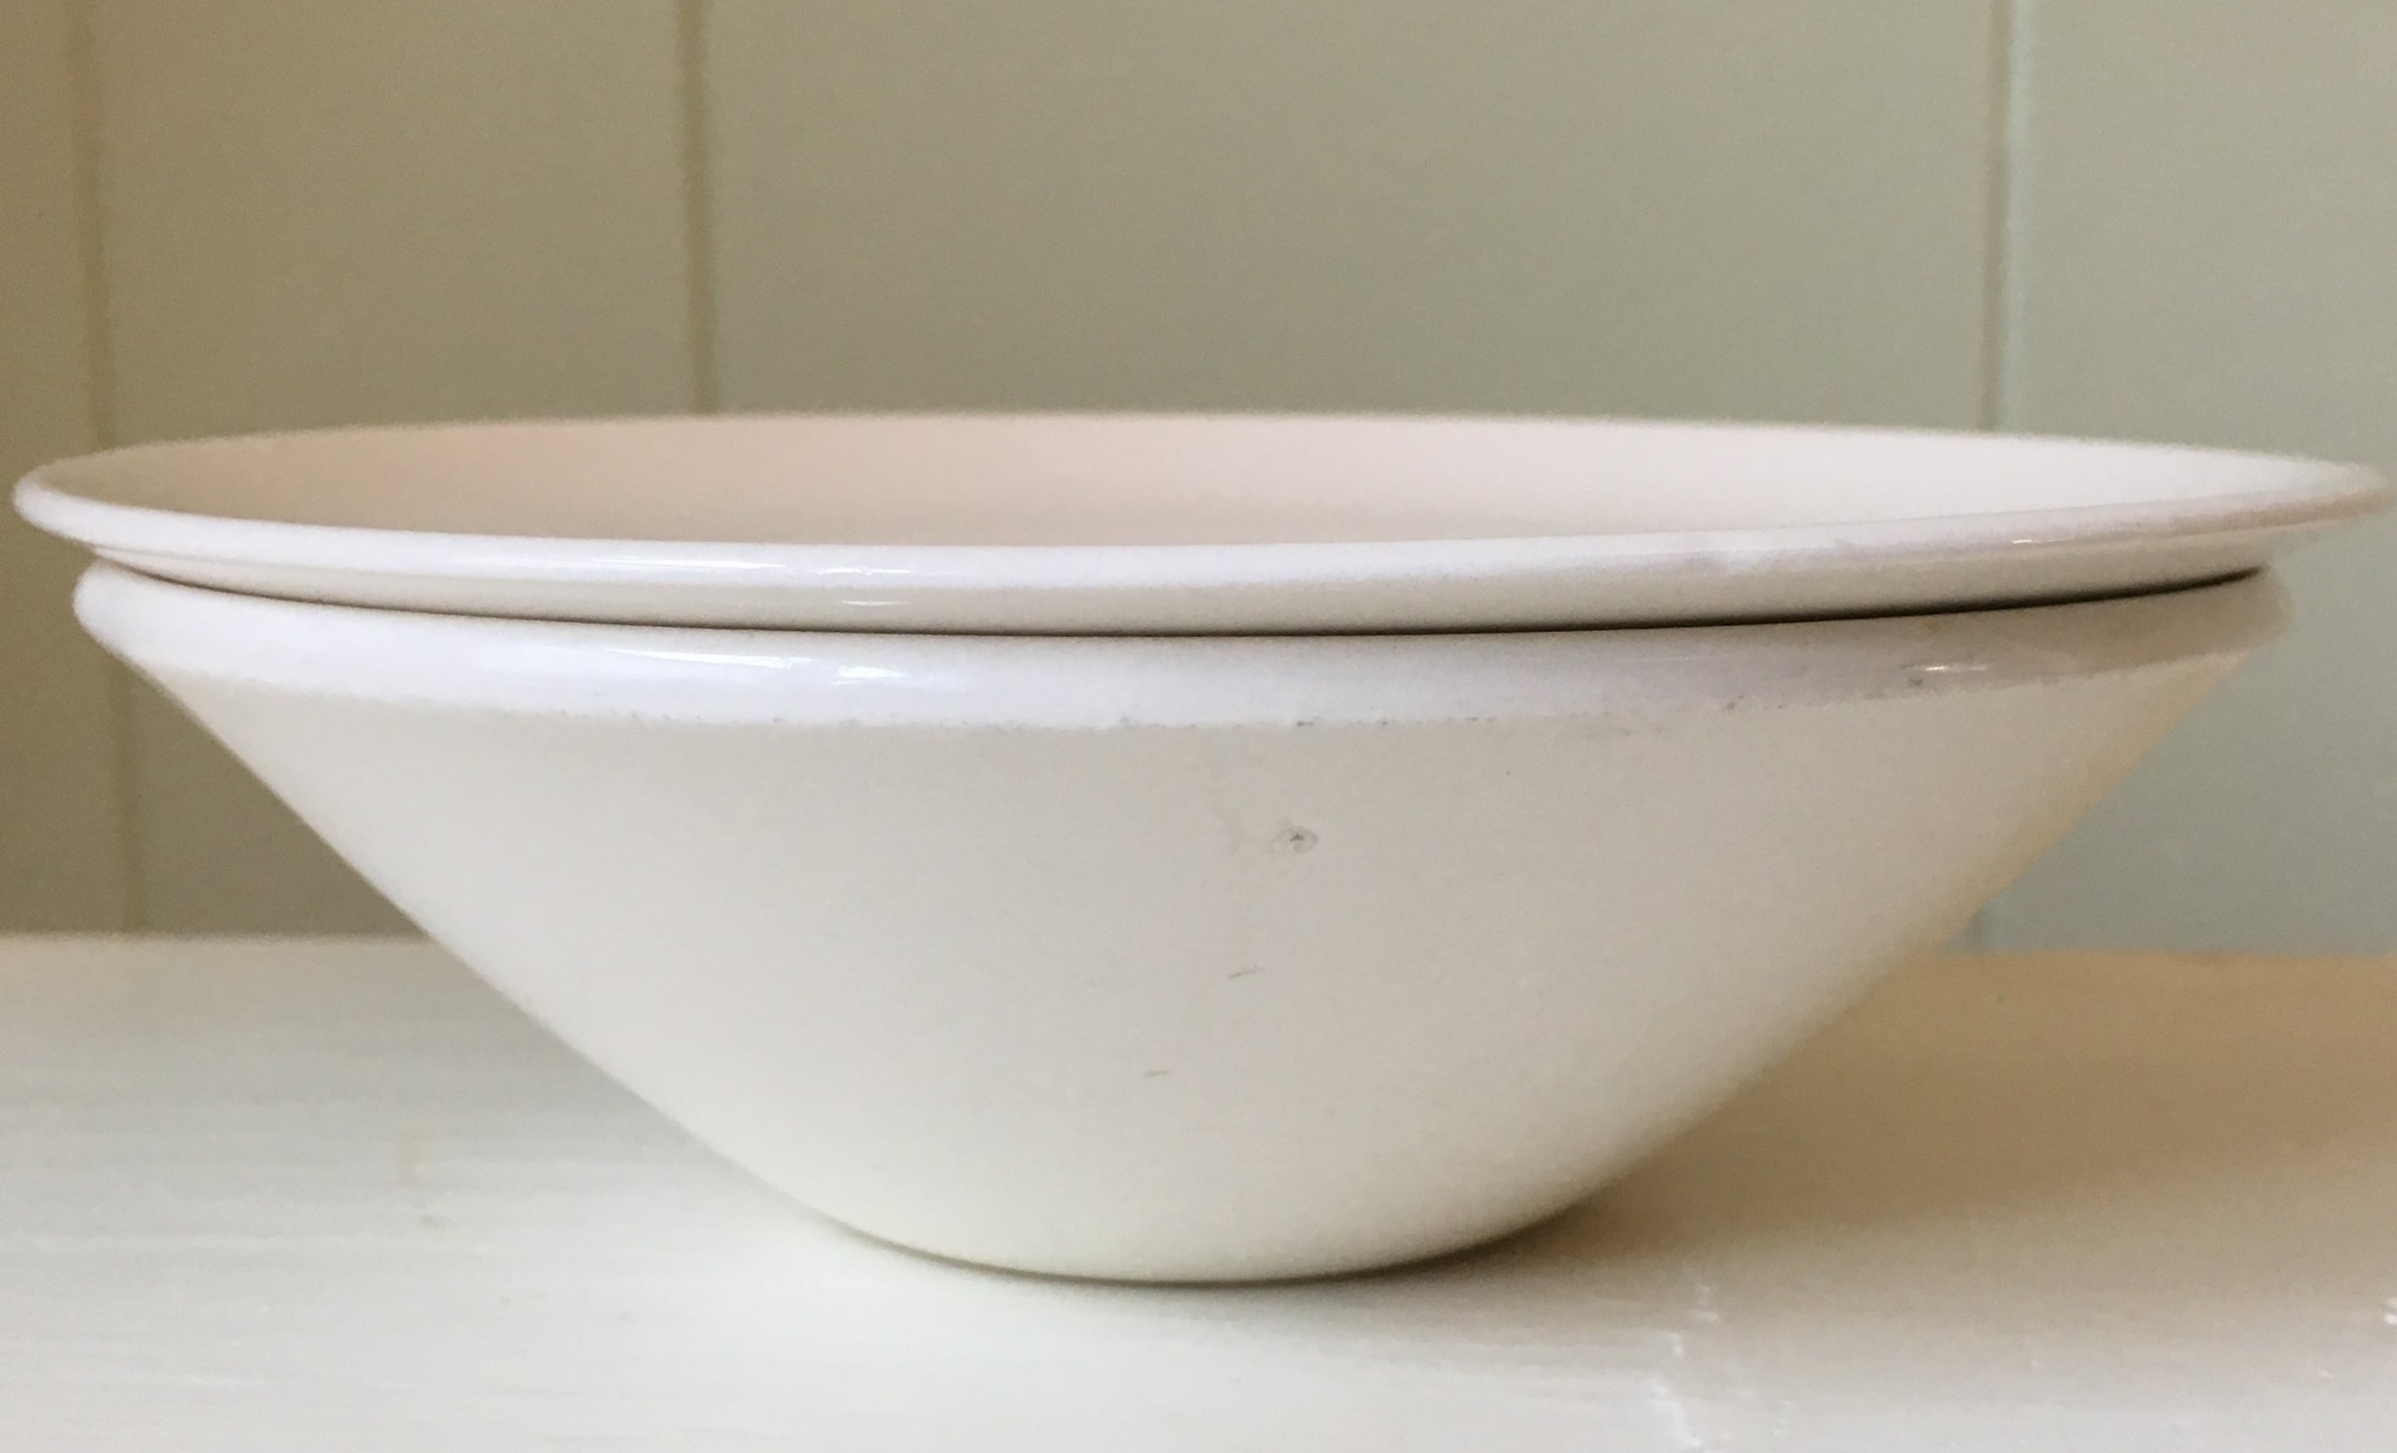
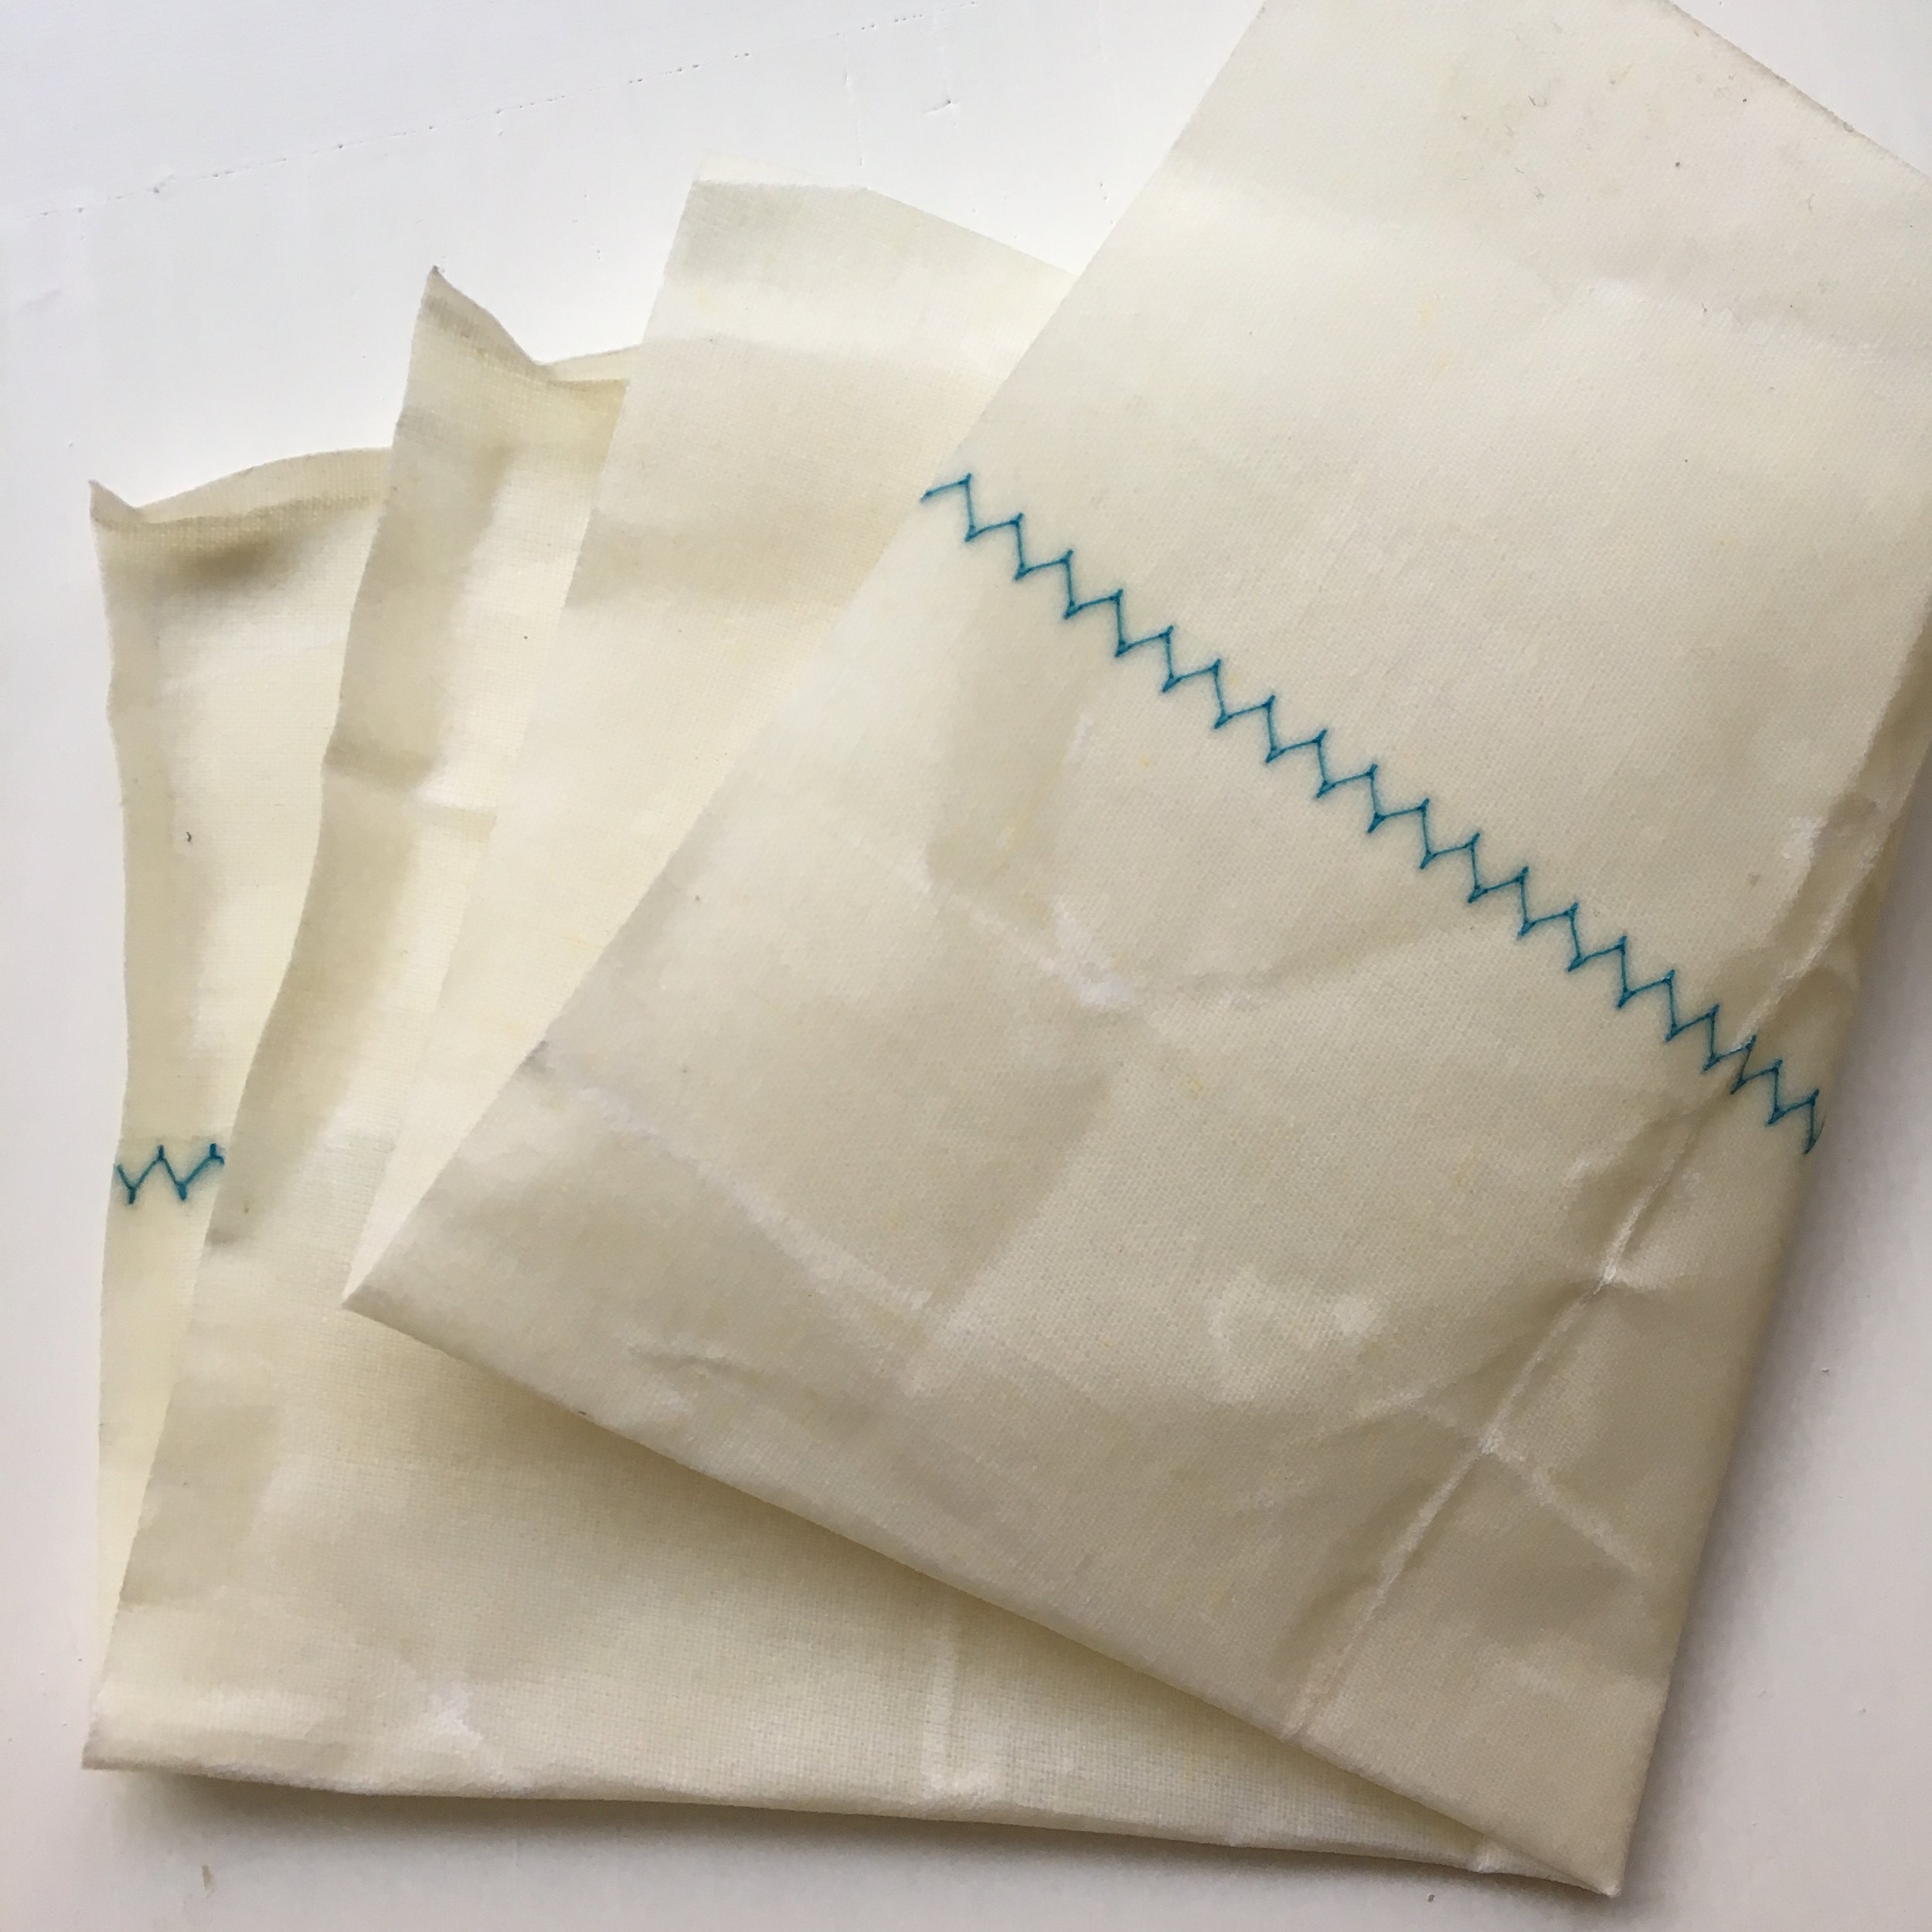
When ready to cook, fill a large pot or slow cooker two-thirds full with collected ingredients. Cover with water and add bay leaf.  If using bones, add a splash of vinegar (up to 1 tablespoon). Salt and pepper as desired. Simmer, covered on low for 6-24 hours. (Only simmer 1 hour for vegetable broth.) Strain.


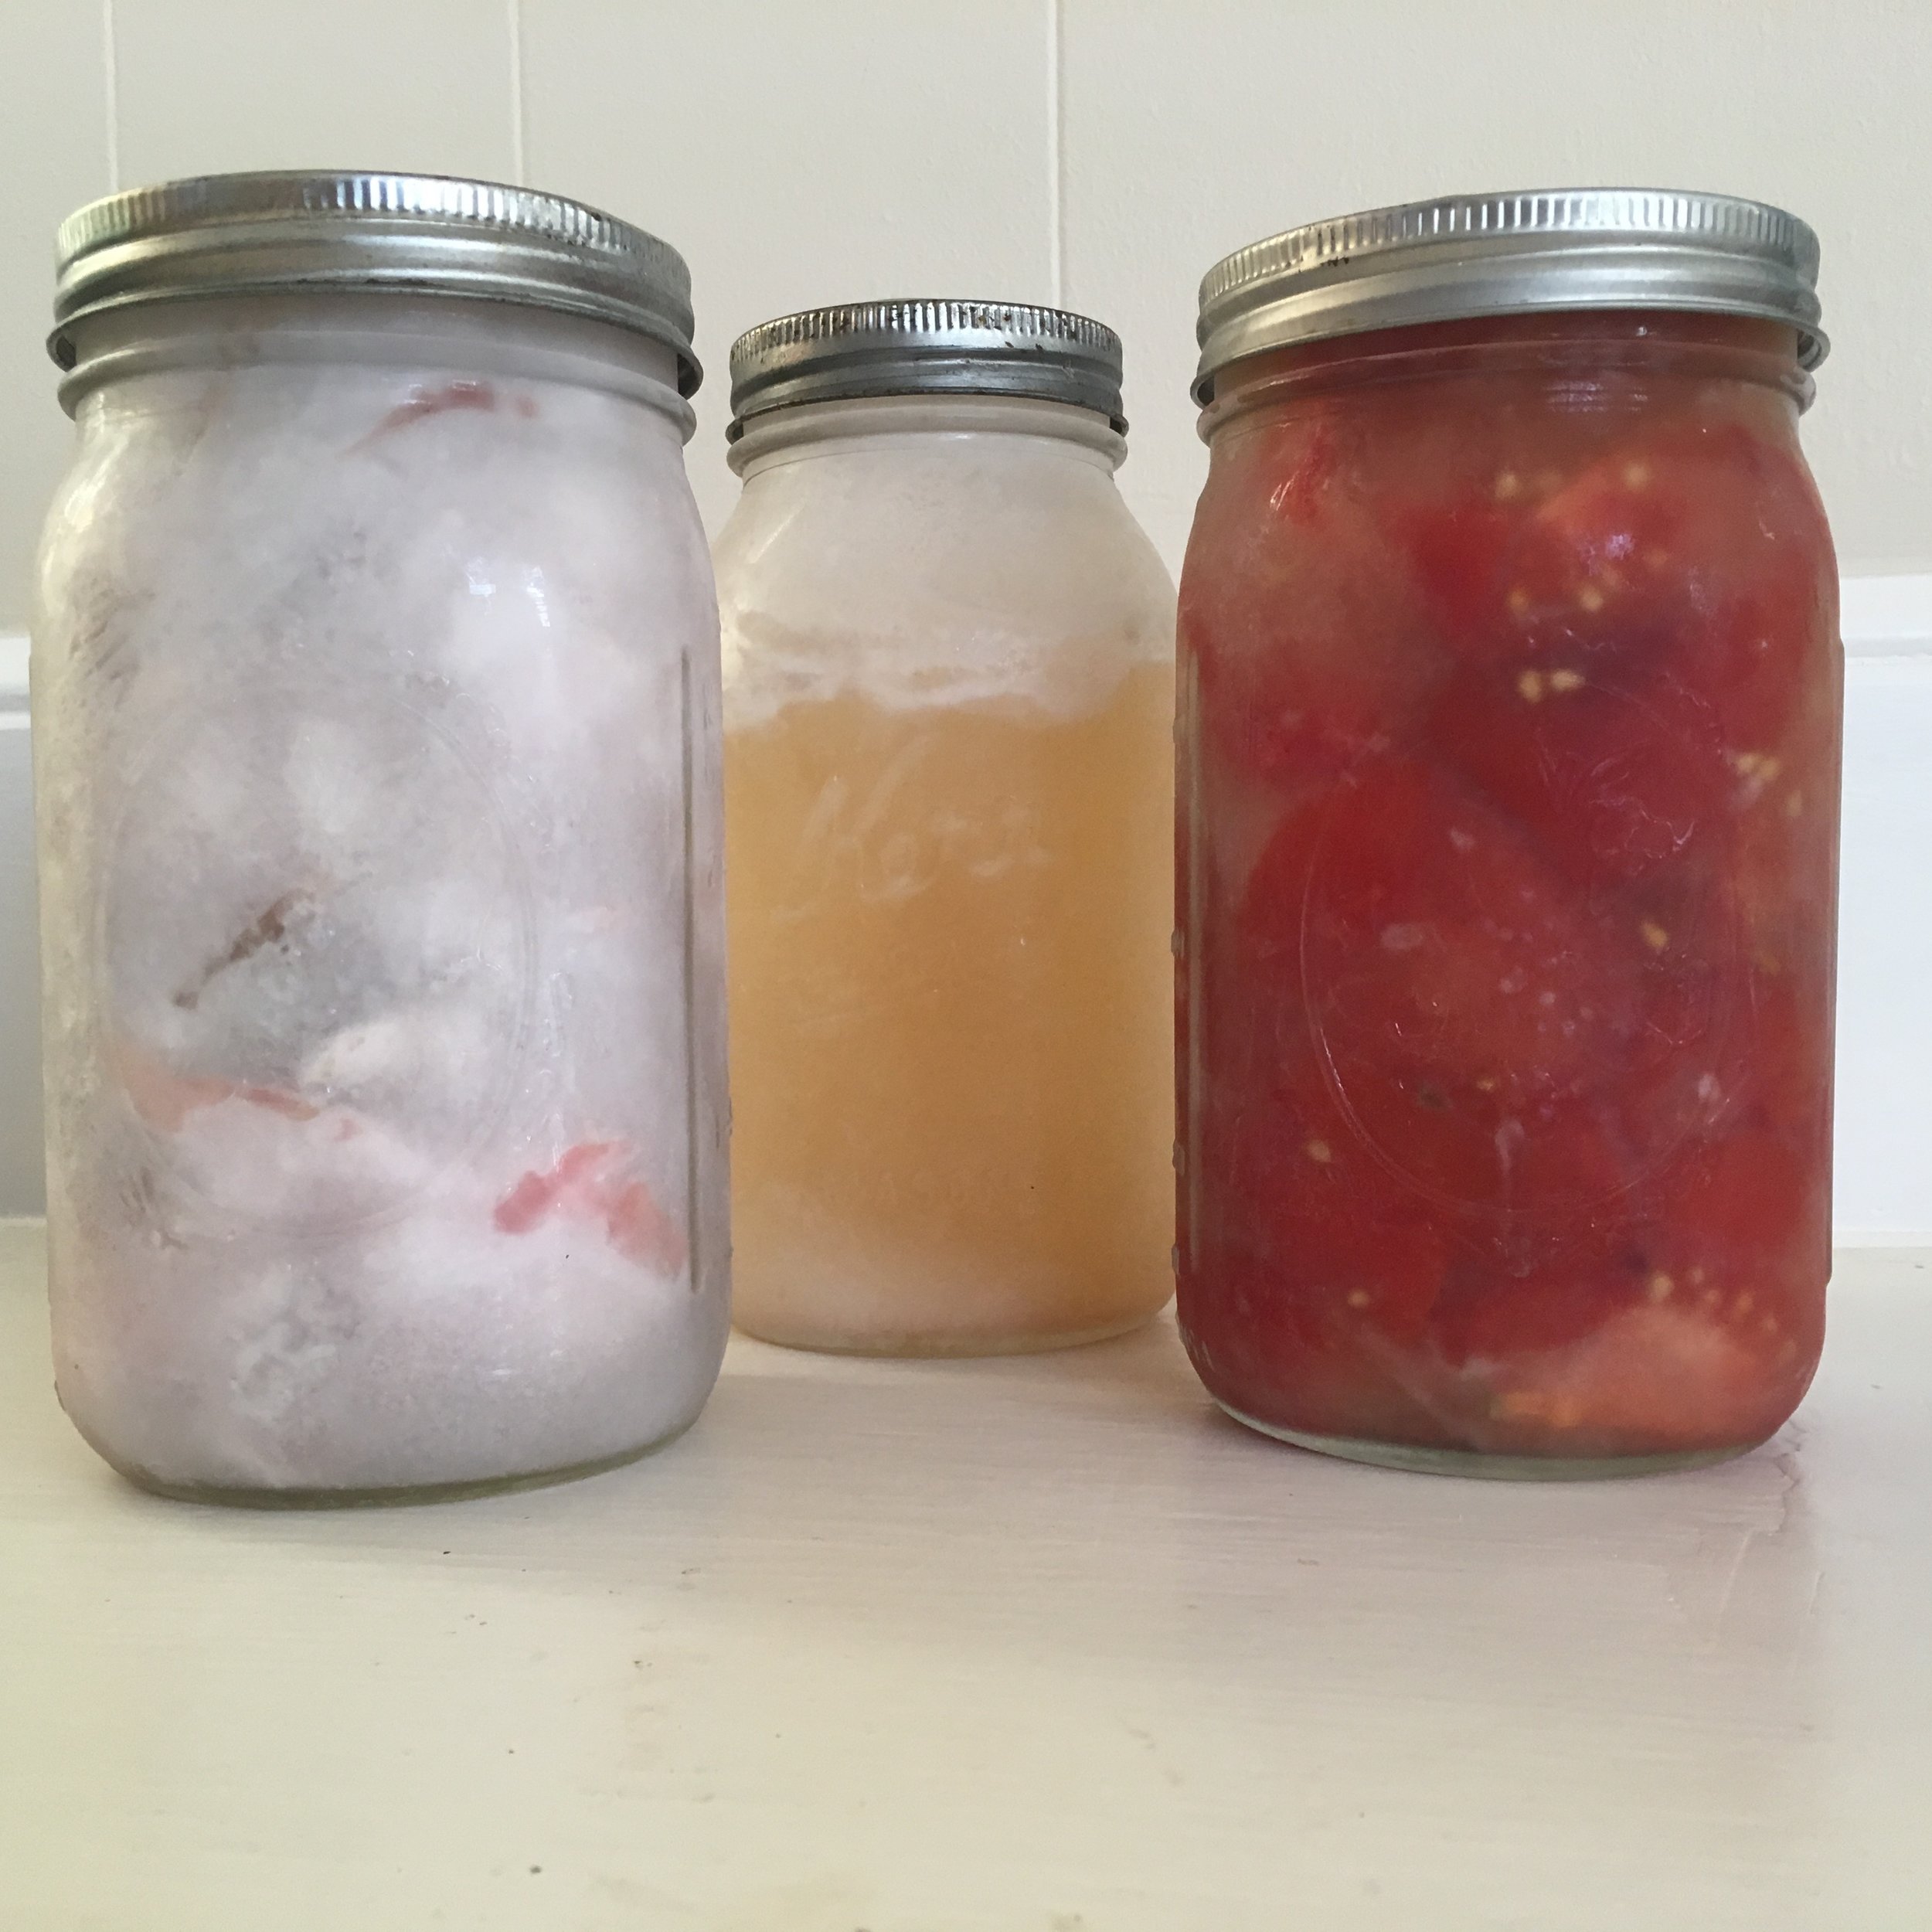
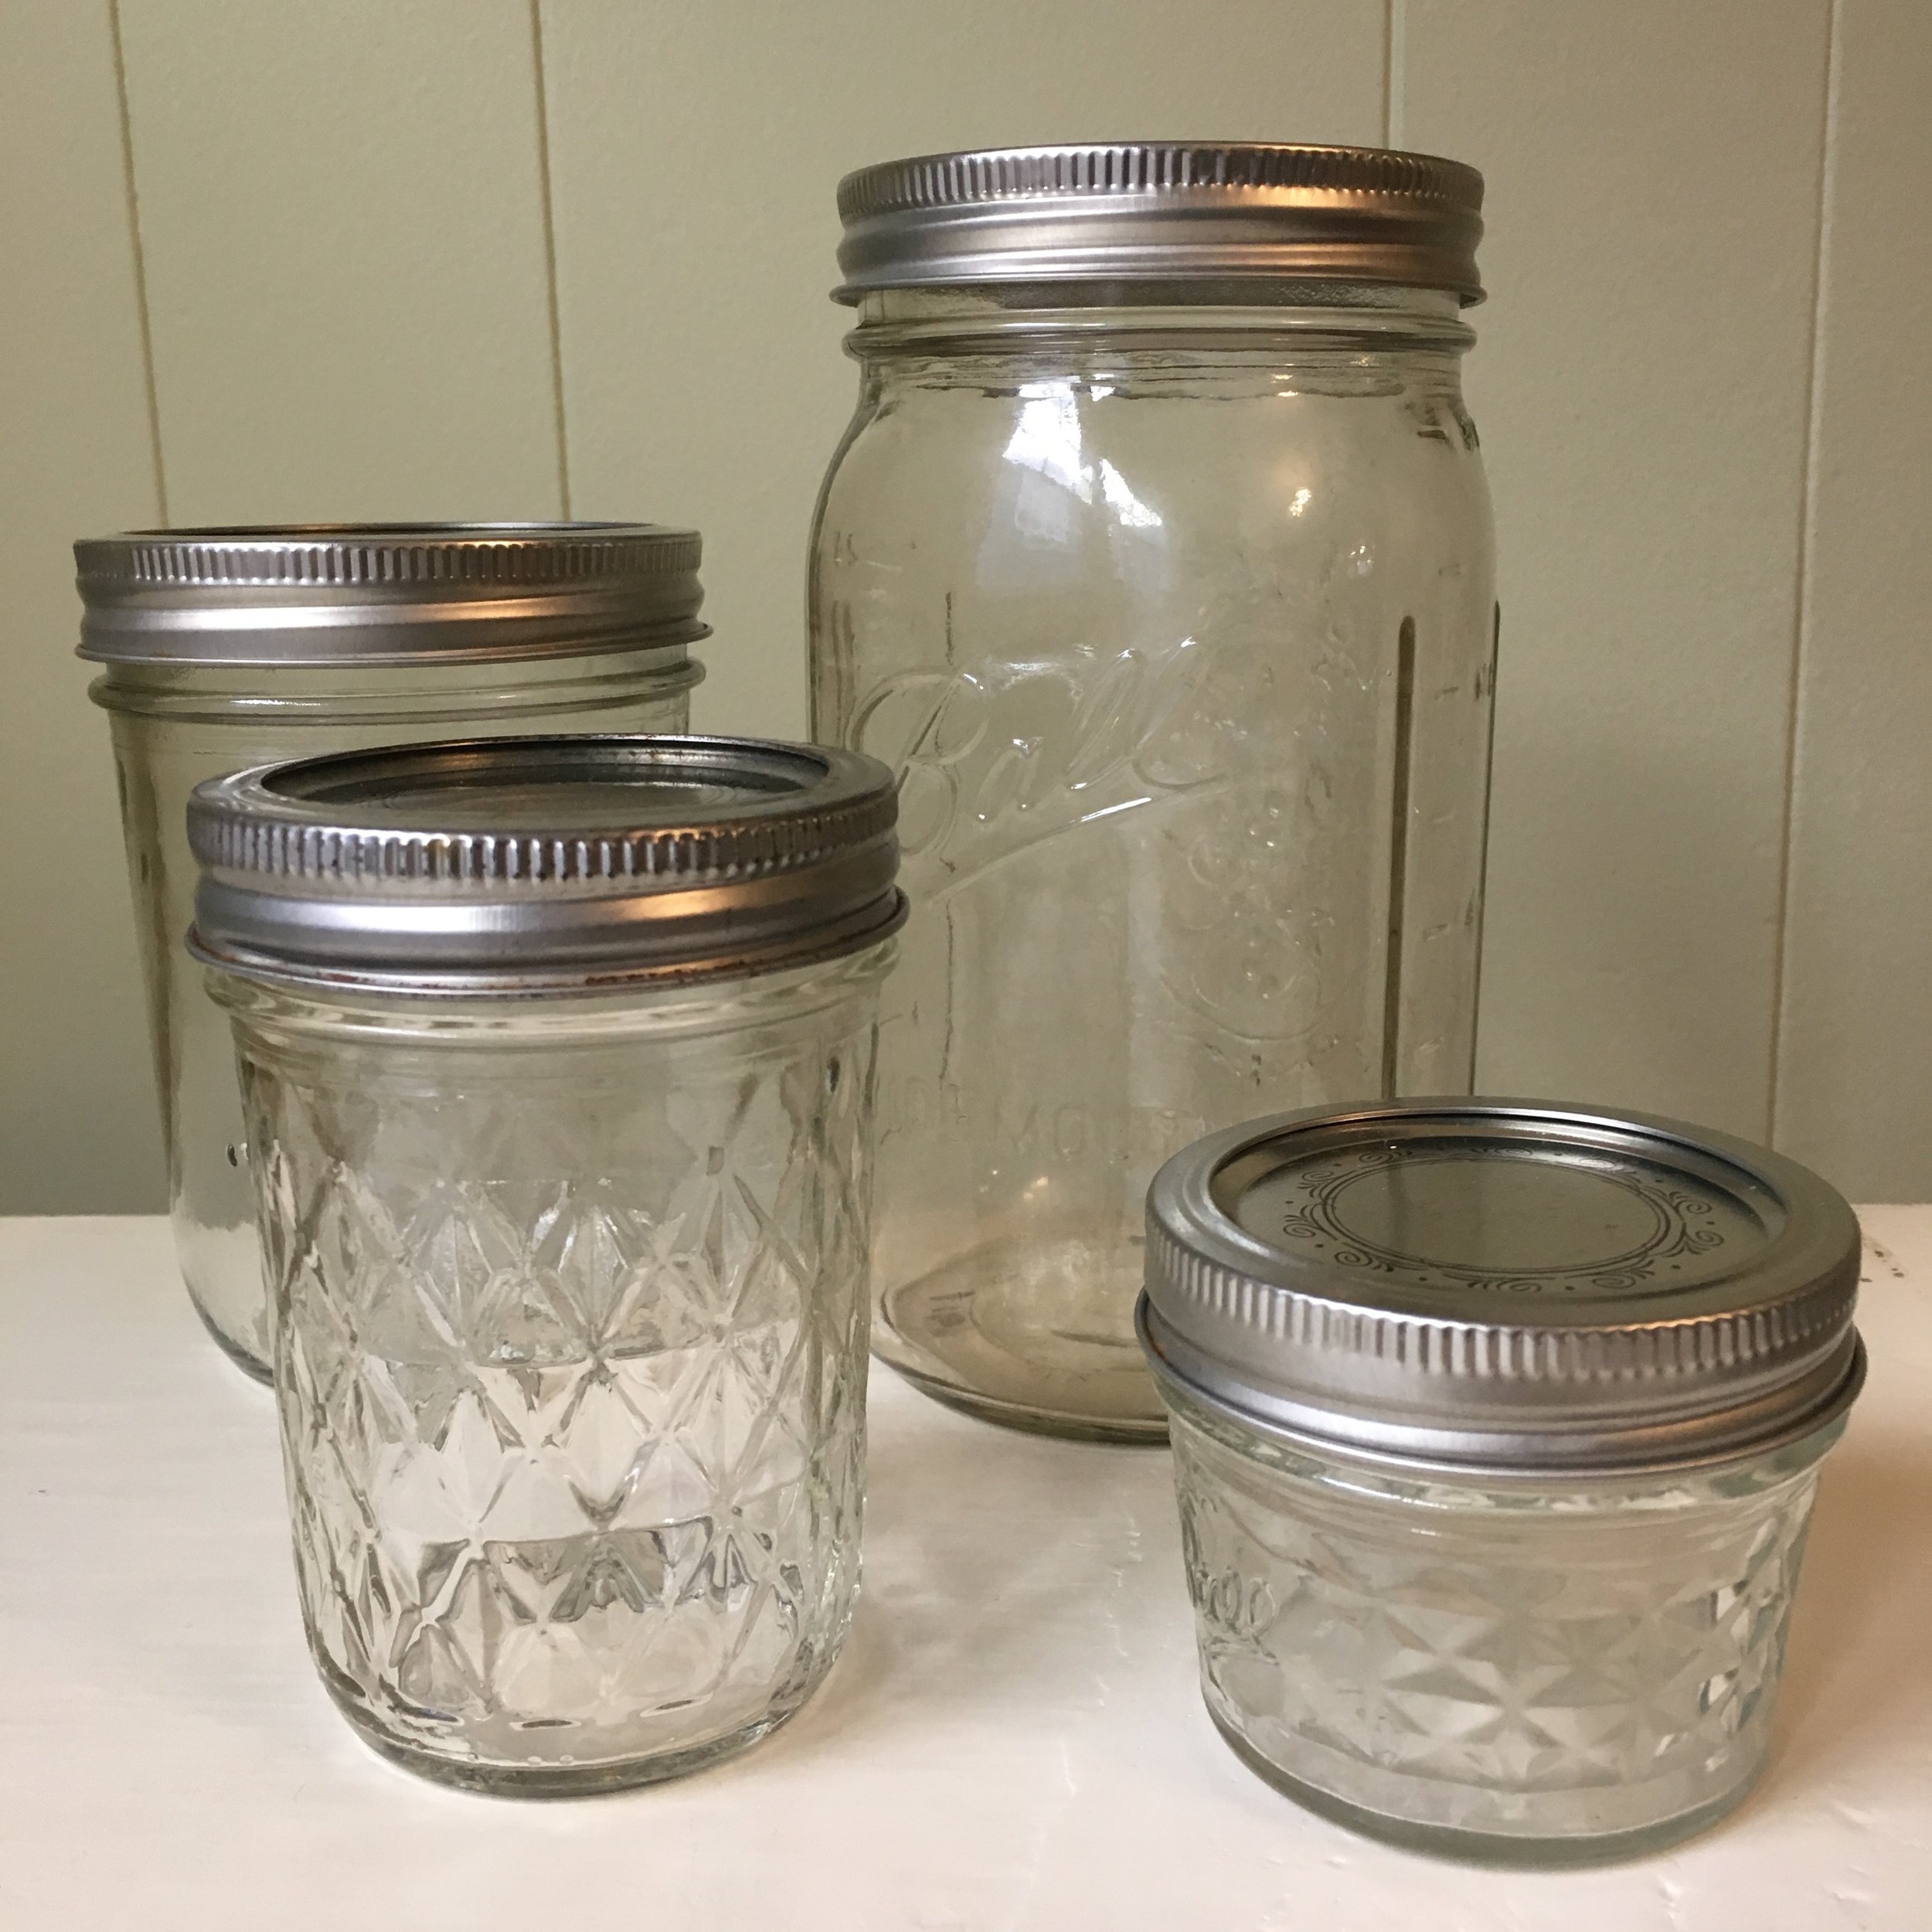
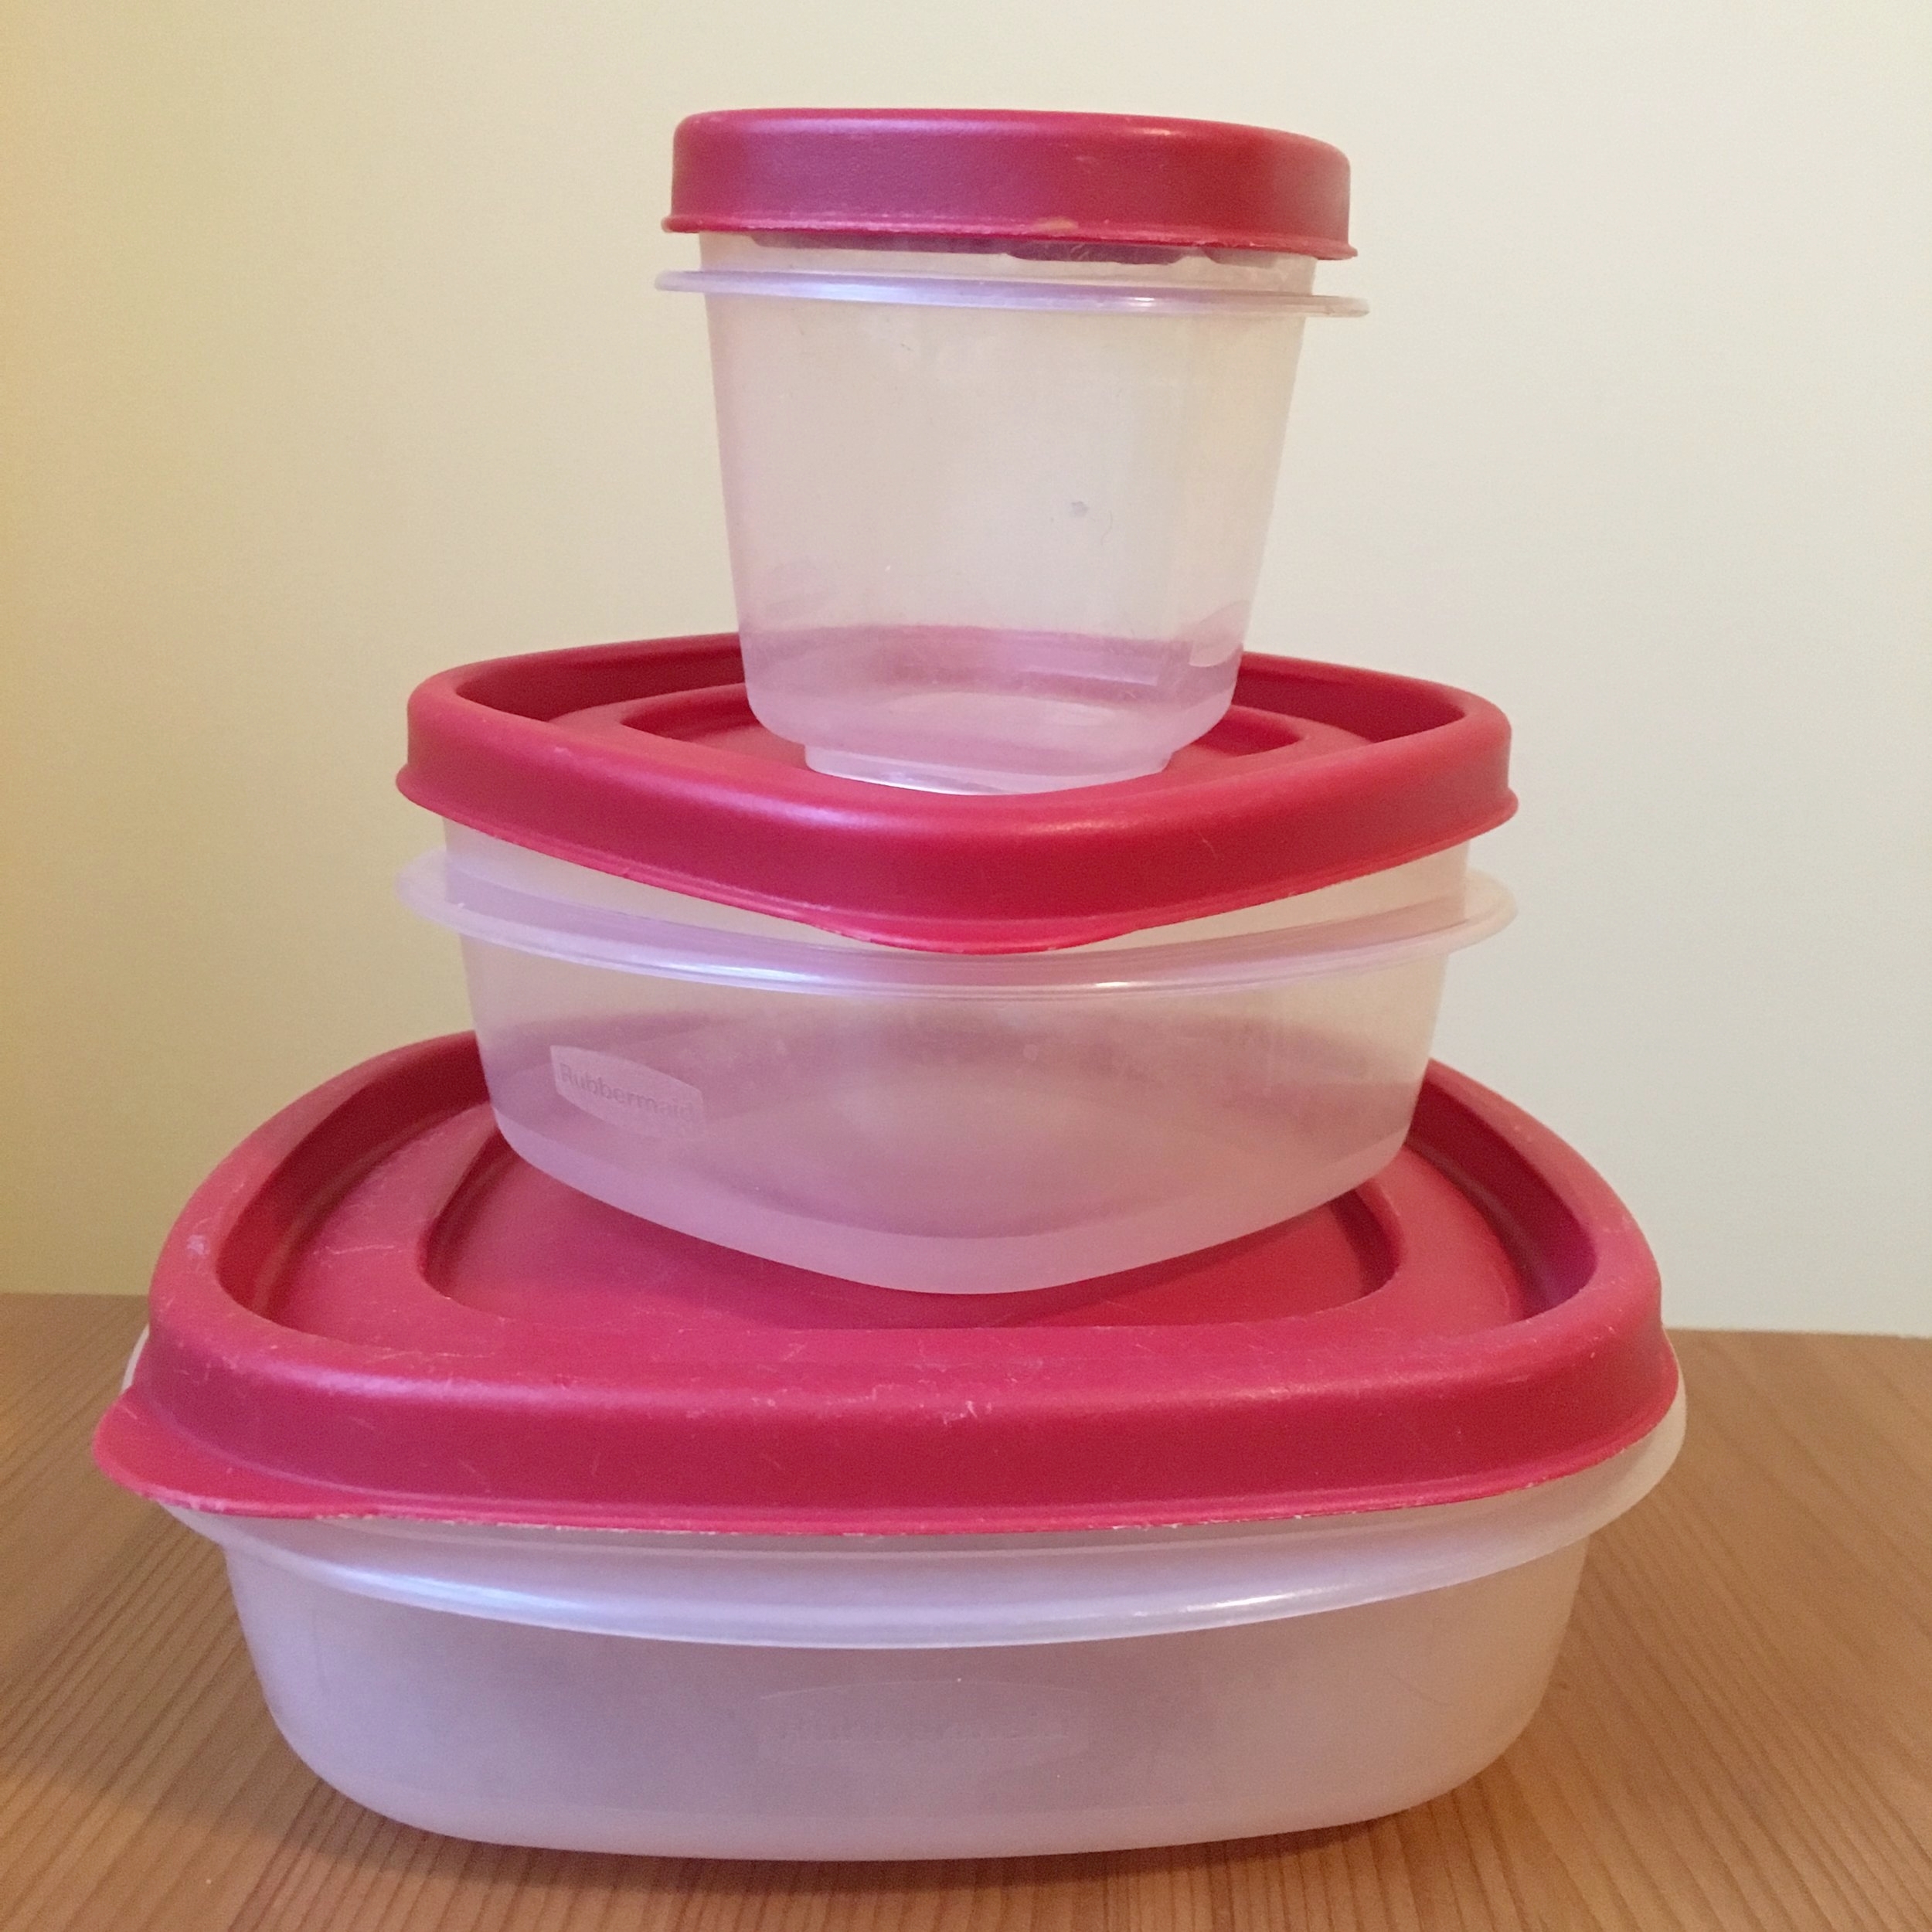
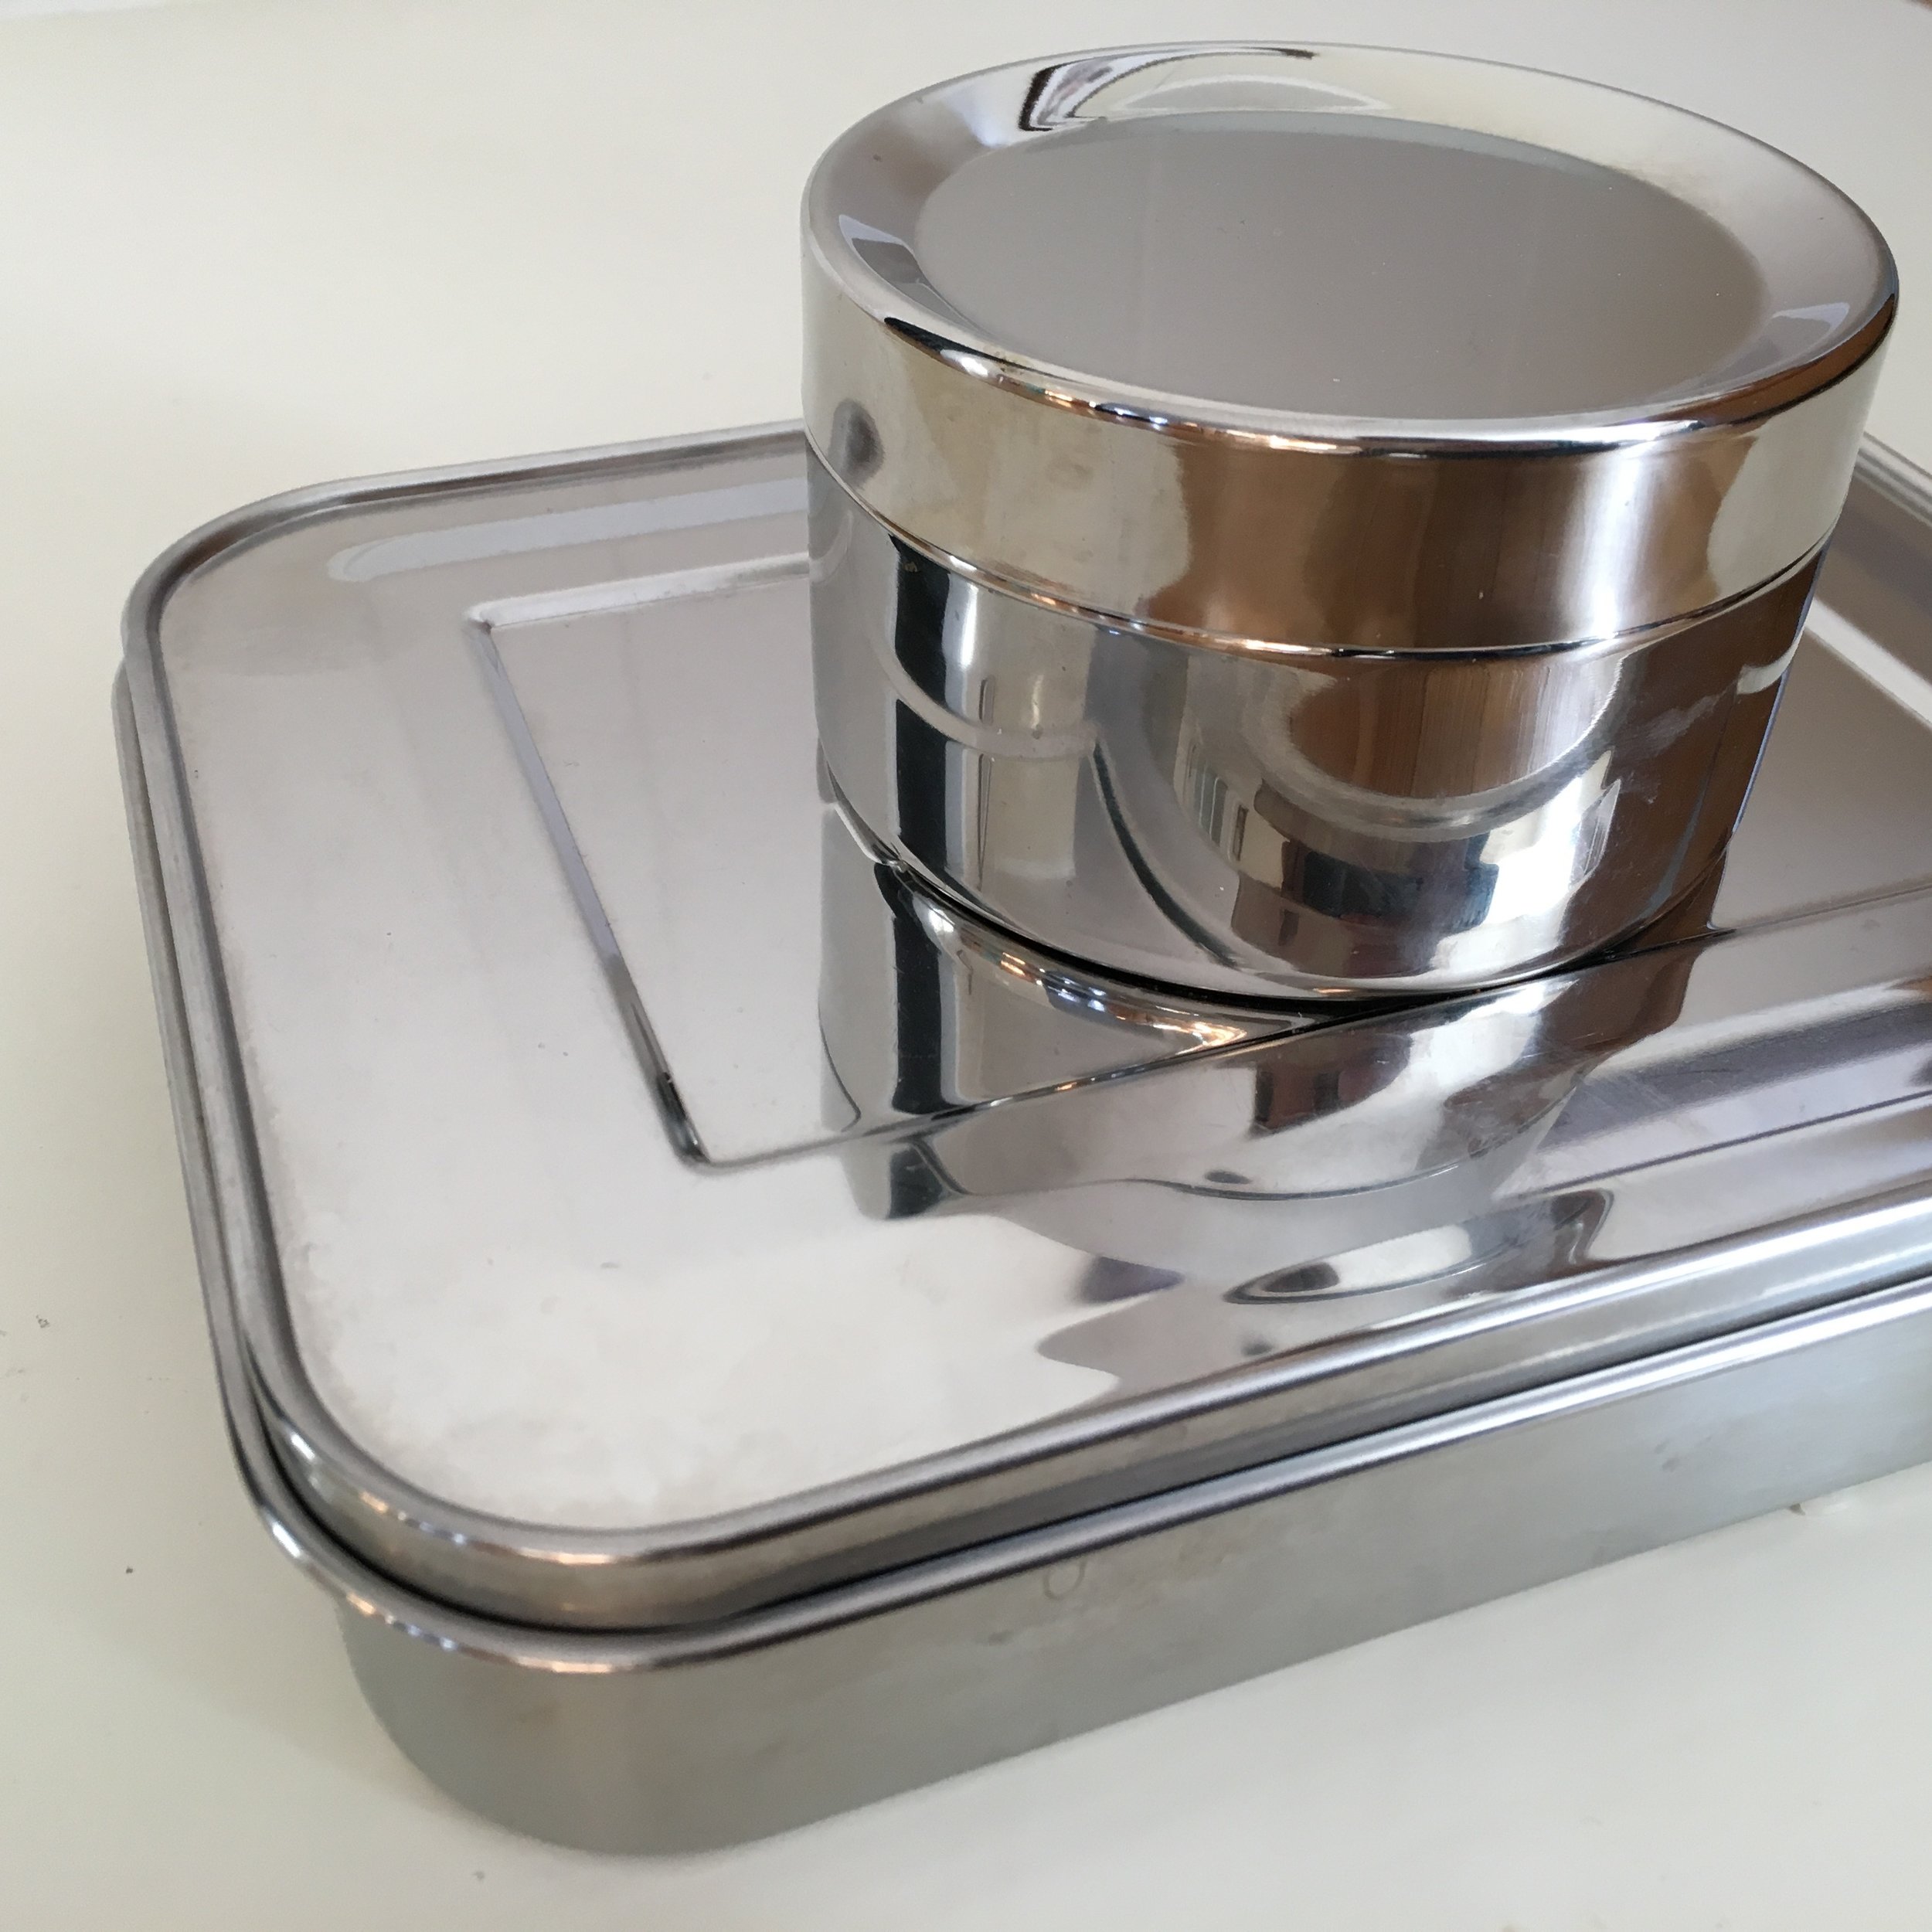
Use as a soup base, liquid for cooking or a warm drink. Refrigerate for up to one week or freeze for longer storage.

FullSizeRender.jpg

Low-Waste Thanksgiving

Only two firsthand accounts of the first Thanksgiving were ever recorded. Although the pilgrims and Wampanoag people likely did not feast on wild turkey according to these sources, one can safely assume no paper napkins or disposable baking pans were present. Embrace this no-waste tradition by reducing waste at your next Thanksgiving celebration.


SHOPPING

Bring your own bags. Bring bags for carrying groceries home as well as a water-resistant bag for the turkey to avoid any new plastic or paper bags from being used.

Buy unpackaged produce items. Choose loose onions, potatoes and other unpackaged produce over packaged ones.

Shop loose bulk. Items such as wild rice, nuts, and spices tend to be sold in packages with larger portions than needed, leading the remaining contents to expire before being used again. Buy exactly the amount needed by shopping the loose bulk section of the store.

Reduce drink packaging waste. Choose recyclable containers (glass is preferred), make juices from concentrates, and avoid plastic bottles--especially water bottles. Take it one step further by choosing returnable containers such as beer growlers and glass milk bottles from the local micro brewery, liquor store, and/or grocery store.

DECORATING

Rely on reusable items. Use what you own, use what others own (borrow) or acquire second-hand items (ARC/Goodwill, local consignment, Craigslist, NextDoor, etc.). Any of these options can help allow for enough dishes, glasses, silverware, table linens and cloth napkins so that all single-use items can be avoided.

Decorate with nature’s bounty. Apples, pumpkins, corn, squash, sage, nuts, leaves, acorns, and pinecones add beauty and add sense of “plenty” to the Thanksgiving table. Natural aromas can also be used to add to the ambiance.

COOKING

IMG_0479.jpg

Refuse single-use items. Aluminum foil and plastic oven bags are unnecessary and create waste. Bake the turkey and allow it to rest without using these products. Simply bake uncovered and then drape with a cloth kitchen towel as it rests. Steam will escape more easily, allowing the skin to stay crispy instead of becoming soggy under the stream-trapping foil.

Make ice. Avoid a plastic bag by making ice at home.

Reconsider wasteful traditions. Leaving skin on the potatoes tastes delicious, adds nutrition and simplifies preparations. Eliminating unpopular dishes from the menu also reduces food waste and saves time.

Use real baking pans. Ditch disposable foil baking pans and resolve to clean real baking pans instead. 


DEALING WITH THE AFTERMATH

Use reusable food storage options. When storing leftovers, avoid single-use products like plastic wrap, zip-top bags, and aluminum foil. (Use the Food Storage Basics guide for ideas.)

Make turkey stock. Keep vegetable scraps and turkey bones for making homemade stock or broth. Collect scraps in the freezer until ready to cook using this recipe.

Freeze leftovers. Reduce food waste by allowing food to last longer.

Eat the edible decor.

Compost. Compost organic waste using residential organics recycling or a backyard compost bin.

Aroma

Natural aromas of seasonal foods, herbs and spices create comfort and coziness. The best way to make use of aromas is to release and intensify them through heat. Natural aromas are favorable over other aromatic options in terms of safety (chemical fragrances), cost (essential oils), and waste (packaged products).

Choose your aromatics. The least wasteful option is to use ingredients destined for the compost as well as ones that can be dehydrated for reuse. Citrus peels, apple peels & cores, spent vanilla bean pods, cinnamon sticks, cloves, evergreens, the apple forgotten in back of the fridge, or even a dried out orange are great options. All can be used in any condition as long as mold is removed.

Heat. Place aromatics in a pot or slow cooker. Cover with water. Simmer on low. Occasionally refill with water until finished enjoying the aroma.

Dehydrate. After use, drain the water and pull out easily dehydrated items such as cinnamon sticks, orange peels, cloves and vanilla bean pods. As long as the ingredients are completely dry when stored, they can be reused again and again as aromatics until they have lost their desired intensity. Simply heat them in water to enjoy again.

Suggested Aromatic Blends:

  • Apple/Cinnamon/Vanilla
  • Orange/Cinnamon/Clove/Cranberry
  • Evergreen Sprigs/Mint/Cinnamon
  • Ginger/Cinnamon/Vanilla
  • Orange/Cinnamon/Vanilla
  • Grapefruit/Orange/Lemon/Vanilla
  • Lavender/Vanilla
  • Lemon/Rosemary/Vanilla
Dehydrate and reuse aromatics by simmering in water.

Dehydrate and reuse aromatics by simmering in water.

Recommended Reading:

Environmental Working Group (2010). “3,163 Ingredients Hide Behind the Word ‘Fragrance.’” 


Food Storage Basics

Preventing food waste is important but so is preventing waste from storing food. Plastic wrap, aluminum foil and zip-top bags often end up in the landfill after one use. These single-use products are not only a waste of money, but also a waste of precious kitchen real estate, resources and more. We have better alternatives than these trashy one-time-use items. Most, of which, you likely own already!

USE CONTAINERS YOU ALREADY OWN. It’s surprising how often people reach for Ziploc bags over reusable containers. These zero waste options are likely to already be in your home...

  • Rigid Plastic Containers (Gladware, Rubbermaid, Tupperware, etc.): We all have some, right? Just avoid heating food in them for safety reasons and invest in non-plastic alternatives when the time comes.
  • Glass & Ceramic Baking Dishes (Corningware and Pyrex): A great non-plastic option for storing larger portions (such as holidays & entertaining) as well as easy, everyday oven-to-table-to-fridge storage. Leftovers can safely be reheated in them too.
  • Dishtowels & Cloth Napkins: Cloth is a forgotten storage gem! Simply wrap or drape food. If necessary, dampen the cloth to keep food moistened. (Lettuce stores especially well in a damp cloth. Simply wrap freshly washed lettuce in a towel and store in the fridge!)
  • Glass Jars: Perfect for chilling, freezing, cooking and reheating food. Rescue food jars headed for the recycle bin or use canning jars.
  • Packaged Food Containers: When packaging can’t be avoided, choose food in containers that can be reused as storage after eating the contents. Glass is preferred because it doesn’t absorb flavors or release chemicals and is recyclable. Some glass containers that are great for reuse are pasta sauce jars, juice bottles, and salad dressing bottles.
  • Bowls, Plates & Cups: Get resourceful! Use a plate as a lid on top of a bowl, invert a plate on top of another or leave food on an open plate. Even cups and mugs can be used to store fresh herbs like a flower arrangement.
  • Nothing: Not using any container might work just fine. This works for foods like onion- and shallot-halves that will be used up before drying out.

INVEST IN REUSABLE PRODUCTS.  Every single-use product has a reusable alternative. Consider these solutions for specific needs...

  • Waxed Cloth Wrap: This popular alternative to plastic wrap is usually made of food-safe beeswax. Although it’s more costly upfront than plastic wrap, waxed wrap is a great investment with the money saved by ditching disposables! To use it, place on foods, bowls or plates as you would with plastic wrap and then mold the wrap using the heat from your hands. To clean, scrub with soap and water.
  • Cloth Bags: Cloth bags are invaluable in a zero waste home!  Use on-the-go for carrying meals or snacks (whole pieces of fruit, veggies, crackers, chips, popcorn, cookies, nuts & seeds, sandwiches, etc.). Also, use for bringing dry bulk good home from the store.
  • Snack & Sandwich Pouches: These space-efficient pouches usually have a water-resistant lining (aka plastic!) and are sealed with zippers or buttons. For these reasons, they are handy for on-the-go storage of wet or oily food as well as non-food items like cloth wet wipes.
  • Fabric Bowl Covers: Like a shower cap stretched around the tops of bowls, they are great space-savers compared to rigid lids.
  • Stainless Steel Containers: A pricey but shatter-proof alternative that comes in all shapes, sizes and configurations. Some have compartments like Bento boxes while others are single containers that stand alone or can be stacked together.
  • Various Glass Containers: For more specific purposes, shop your local resale shop for beautiful and functional glass containers. Places like ARC’s Value Village carry many reusable containers including countertop canisters, Mason jars, swing-top bottles and hermetic canning jars.

REFUSE UNNECESSARY ITEMS. The market is full of items intended for convenience that actually waste our time and potentially hold long-term consequences. Consider the options above before purchasing new products like plastic containers (health & safety concerns), squeeze pouches (limited uses), silicone lids (not recyclable, compostable, or repairable), and so on. Remember to pace yourself on your journey toward zero waste and refuse what you do not need.

RECOMMENDED READING

  • Waste-Free Kitchen Handbook: A Guide to Eating Well and Saving Money By Wasting Less Food by Dana Gunders
  • Save the Food: www.savethefood.com
  • The Ugly Fruit & Veggie Campaign: www.endfoodwaste.org/

Homemade Crackers

One of the first waste-reducing changes I made was switching to reusable grocery bags. After a few shopping trips I realized I was bringing my eco-friendly bags only to return home with them full of packaging waste. Soon, it seemed the grocery bags were nothing compared to all the packaging I was bringing home.

Most of the food I now purchase is either unpackaged (spices, grains, snacks, popcorn, granola, honey), comes in a returnable container (milk) or has minimal packaging (meat and cheese). One of the products I wish I could find in loose bulk is crackers. I find it hard enough to justify one layer of packaging, let alone two! Crackers are such an easy snack to make that they are one of the few pantry items I am willing to make myself. Homemade crackers also taste better, cost less and I can make them using whatever unpackaged ingredients I think are best. I use a basic recipe and vary the kind of flour, oil and toppings/flavorings I use depending on the cracker I want. My favorite version of my recipe is my Rosemary & Olive Oil Crackers. (For plain crackers, omit the rosemary.)

File_000.jpeg

Rosemary & Olive Oil Crackers

3 cups all-purpose flour

1 teaspoon sugar

1 teaspoon salt (set aside two pinches)

1 cup water

¼ cup olive oil

1 tablespoon dried rosemary

Set oven racks to lower half of oven and then preheat to 450 degrees. In a bowl, mix 3 cups flour, 1 teaspoon sugar, 1 teaspoon salt (minus two pinches, set aside) and 1 tablespoon dried rosemary. Add 1 cup water and ¼ cup oil. Stir until a soft, slightly sticky dough forms. Adjust with additional water or flour as needed.

Put half the dough on one large baking pan. (Note: light and dark pans retain heat differently. Dark pans will brown the bottoms faster.) Roll out to ⅛ inch or less directly on the pan. Cut into pieces using a rotary cutter (such as a pizza cutter) - rectangles, squares, triangles, whatever shape is desired--just keep them all uniform in shape and size. Brush with water and evenly sprinkle one pinch of salt over dough. Prick with a sharp tool (fork, skewer, knife, etc.) so the crackers bake flat without puffing up too much. Repeat with the second half of the dough then bake for about 15 minutes, switching and rotating pans halfway through. Remove crackers from the pans as they turn brown and let under-baked ones continue baking. Cool on a cooling rack until they are delightfully crunchy. Store in a jar for up to 5 days.